
An Off-Season Wintertime Disneyland Engagement Shoot!
February 5, 2019
This post today is going to contain not only a special all-day engagement session at the Magic Kingdom in Anaheim, CA with Michele and Kent, but also what to do when the Disney castle isn’t available and under renovation, and do’s and don’ts for clients and photographers for shooting professional photos at Disneyland, even if it’s a family shoot.
Michele + Kent
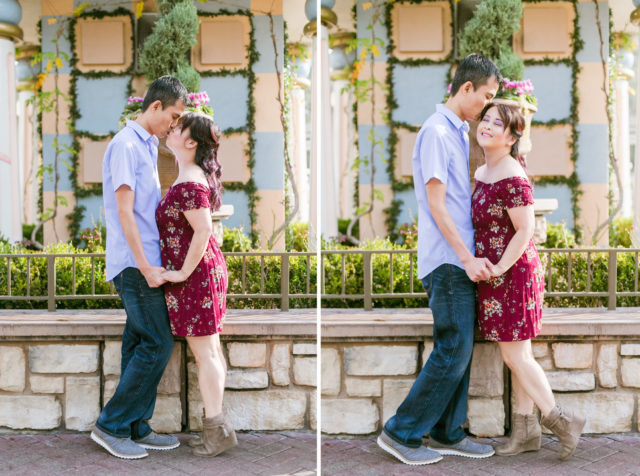
I’ve known Michele since 2004 or so. We met at a concert a mutual friend was playing at and became friends fast. We’ve even gone to Disneyland when we both had annual passes some odd years ago. She’s just the sweetest. I had always said I’d do her wedding photos for her someday and that day is upon us! Disneyland is her thing so of course, it didn’t surprise me that she got engaged to her boyfriend of about 5 years there. I had been waiting for that Instagram post where she got engaged and during the holidays, it happened! So naturally, there was only one place to do her engagement photos! We chose a date during the middle of the week, a day that’s most likely to not be very crowded (this is very helpful with getting great scenic images with not a lot of people and strollers in the background). We also happened to choose a day that was semi-cloudy and sunny, which was also the day right before this crazy rain storm that has hit LA!


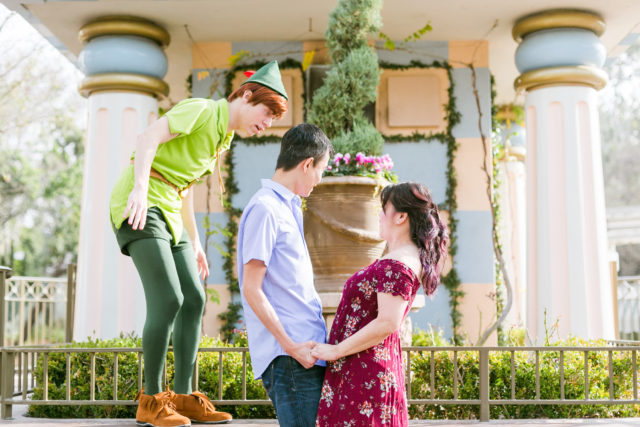
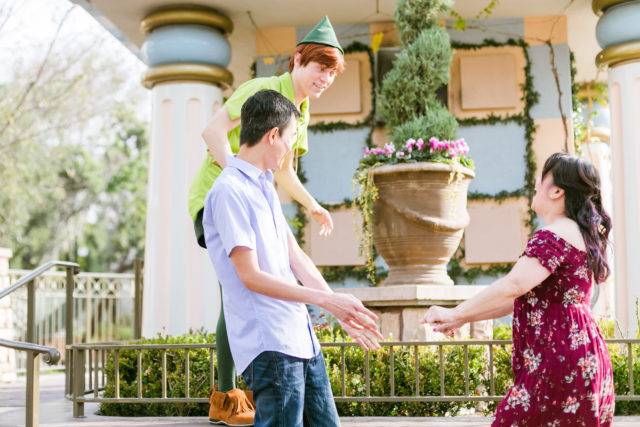
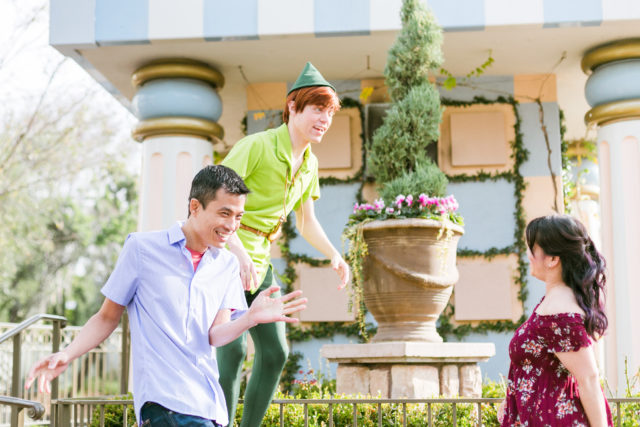
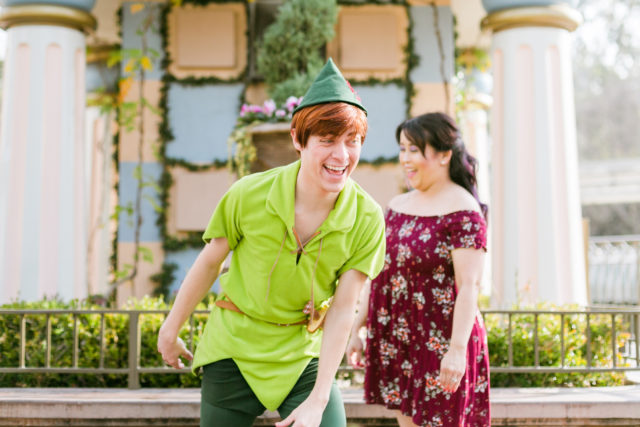
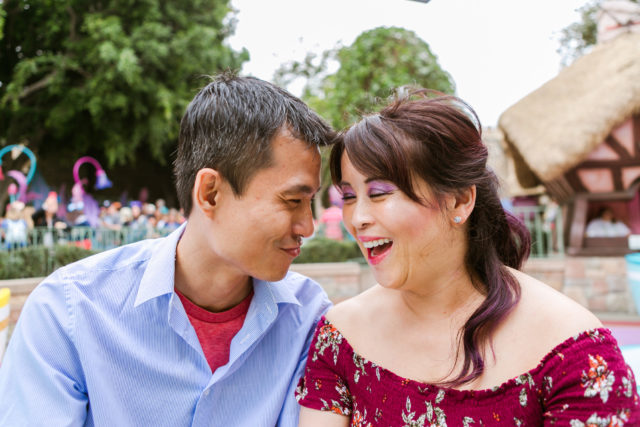
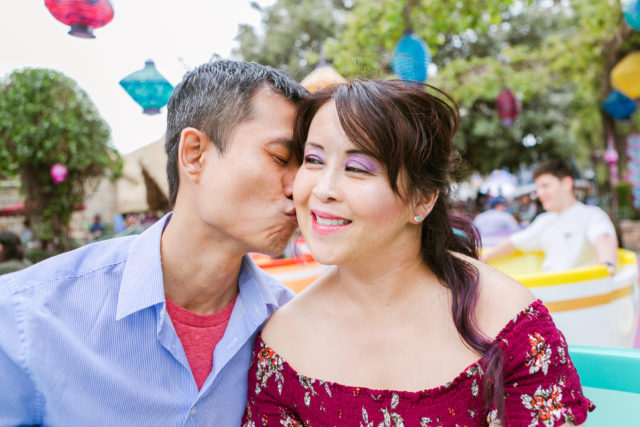
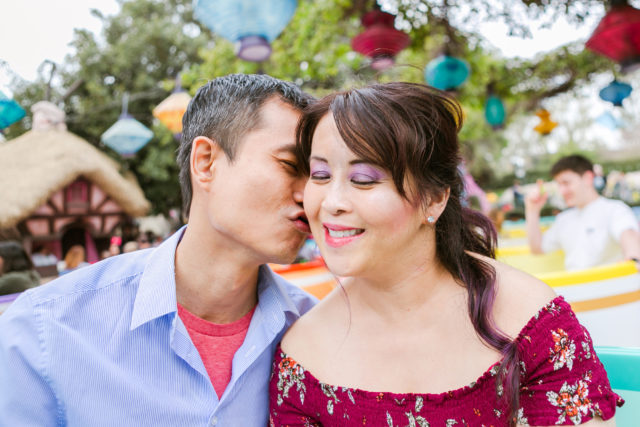
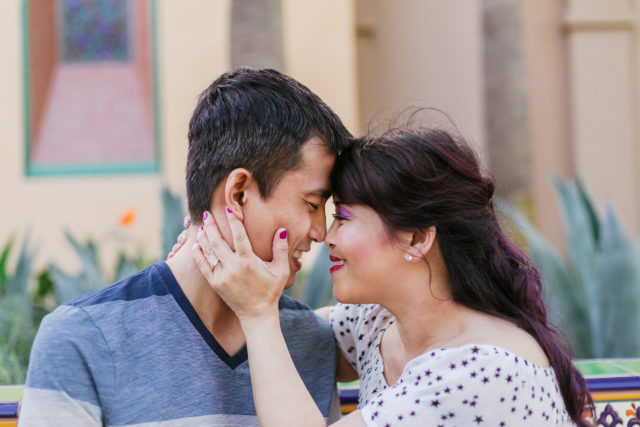
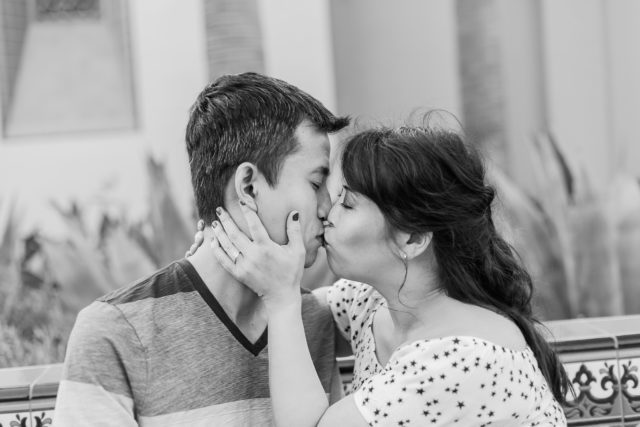
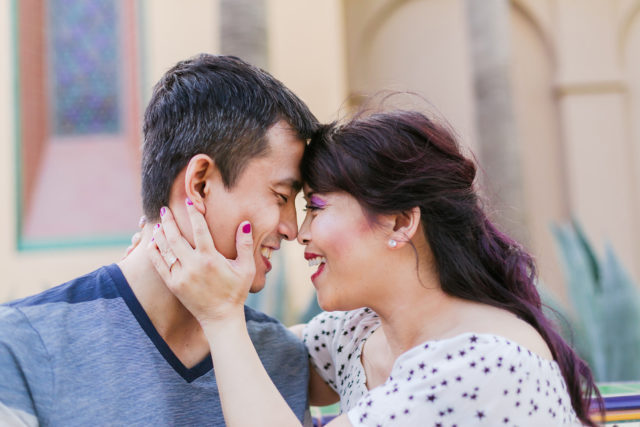
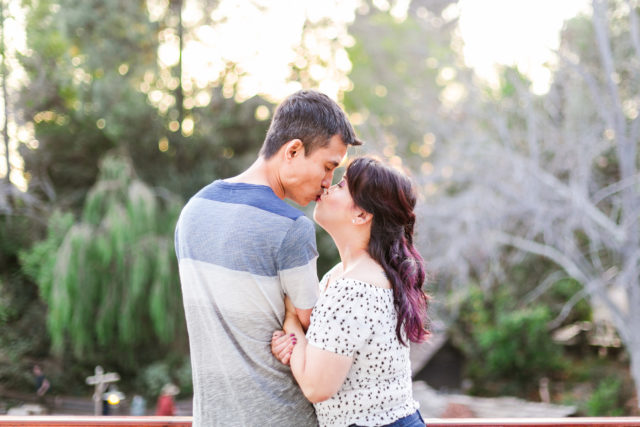
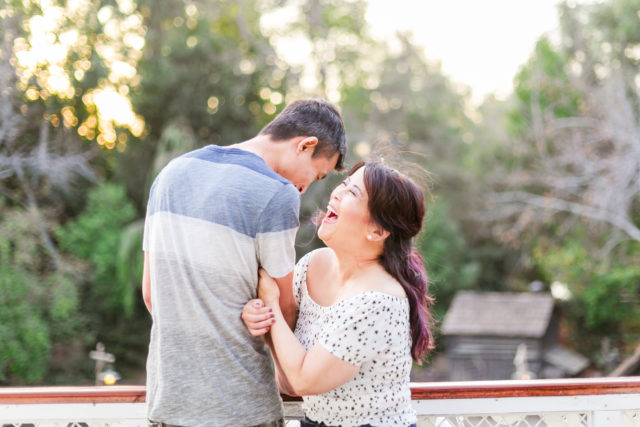
We began the day by shooting in Fantasyland, in the back toward It’s A Small World, and there happened to be almost no one around…except for Peter Pan, who totally photo-bombed us.
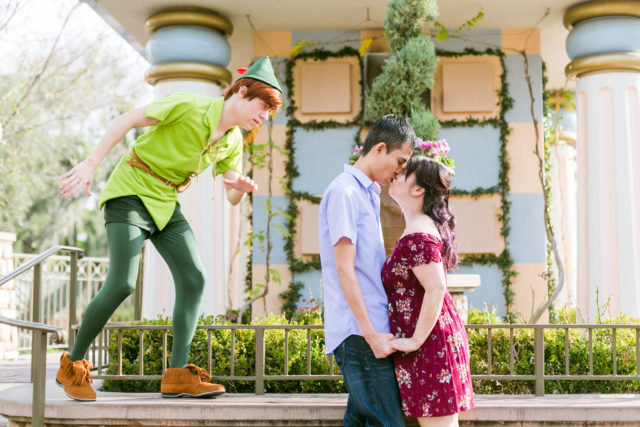
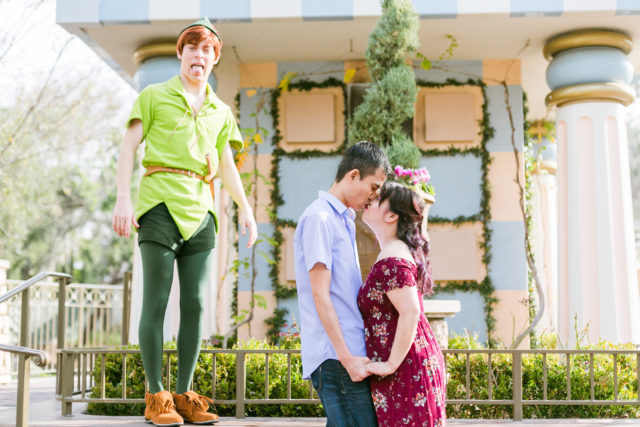
I held them in this kissy pose for a bit while Peter did his slow creep-up on them and said “BOO!” They had no idea he was there.

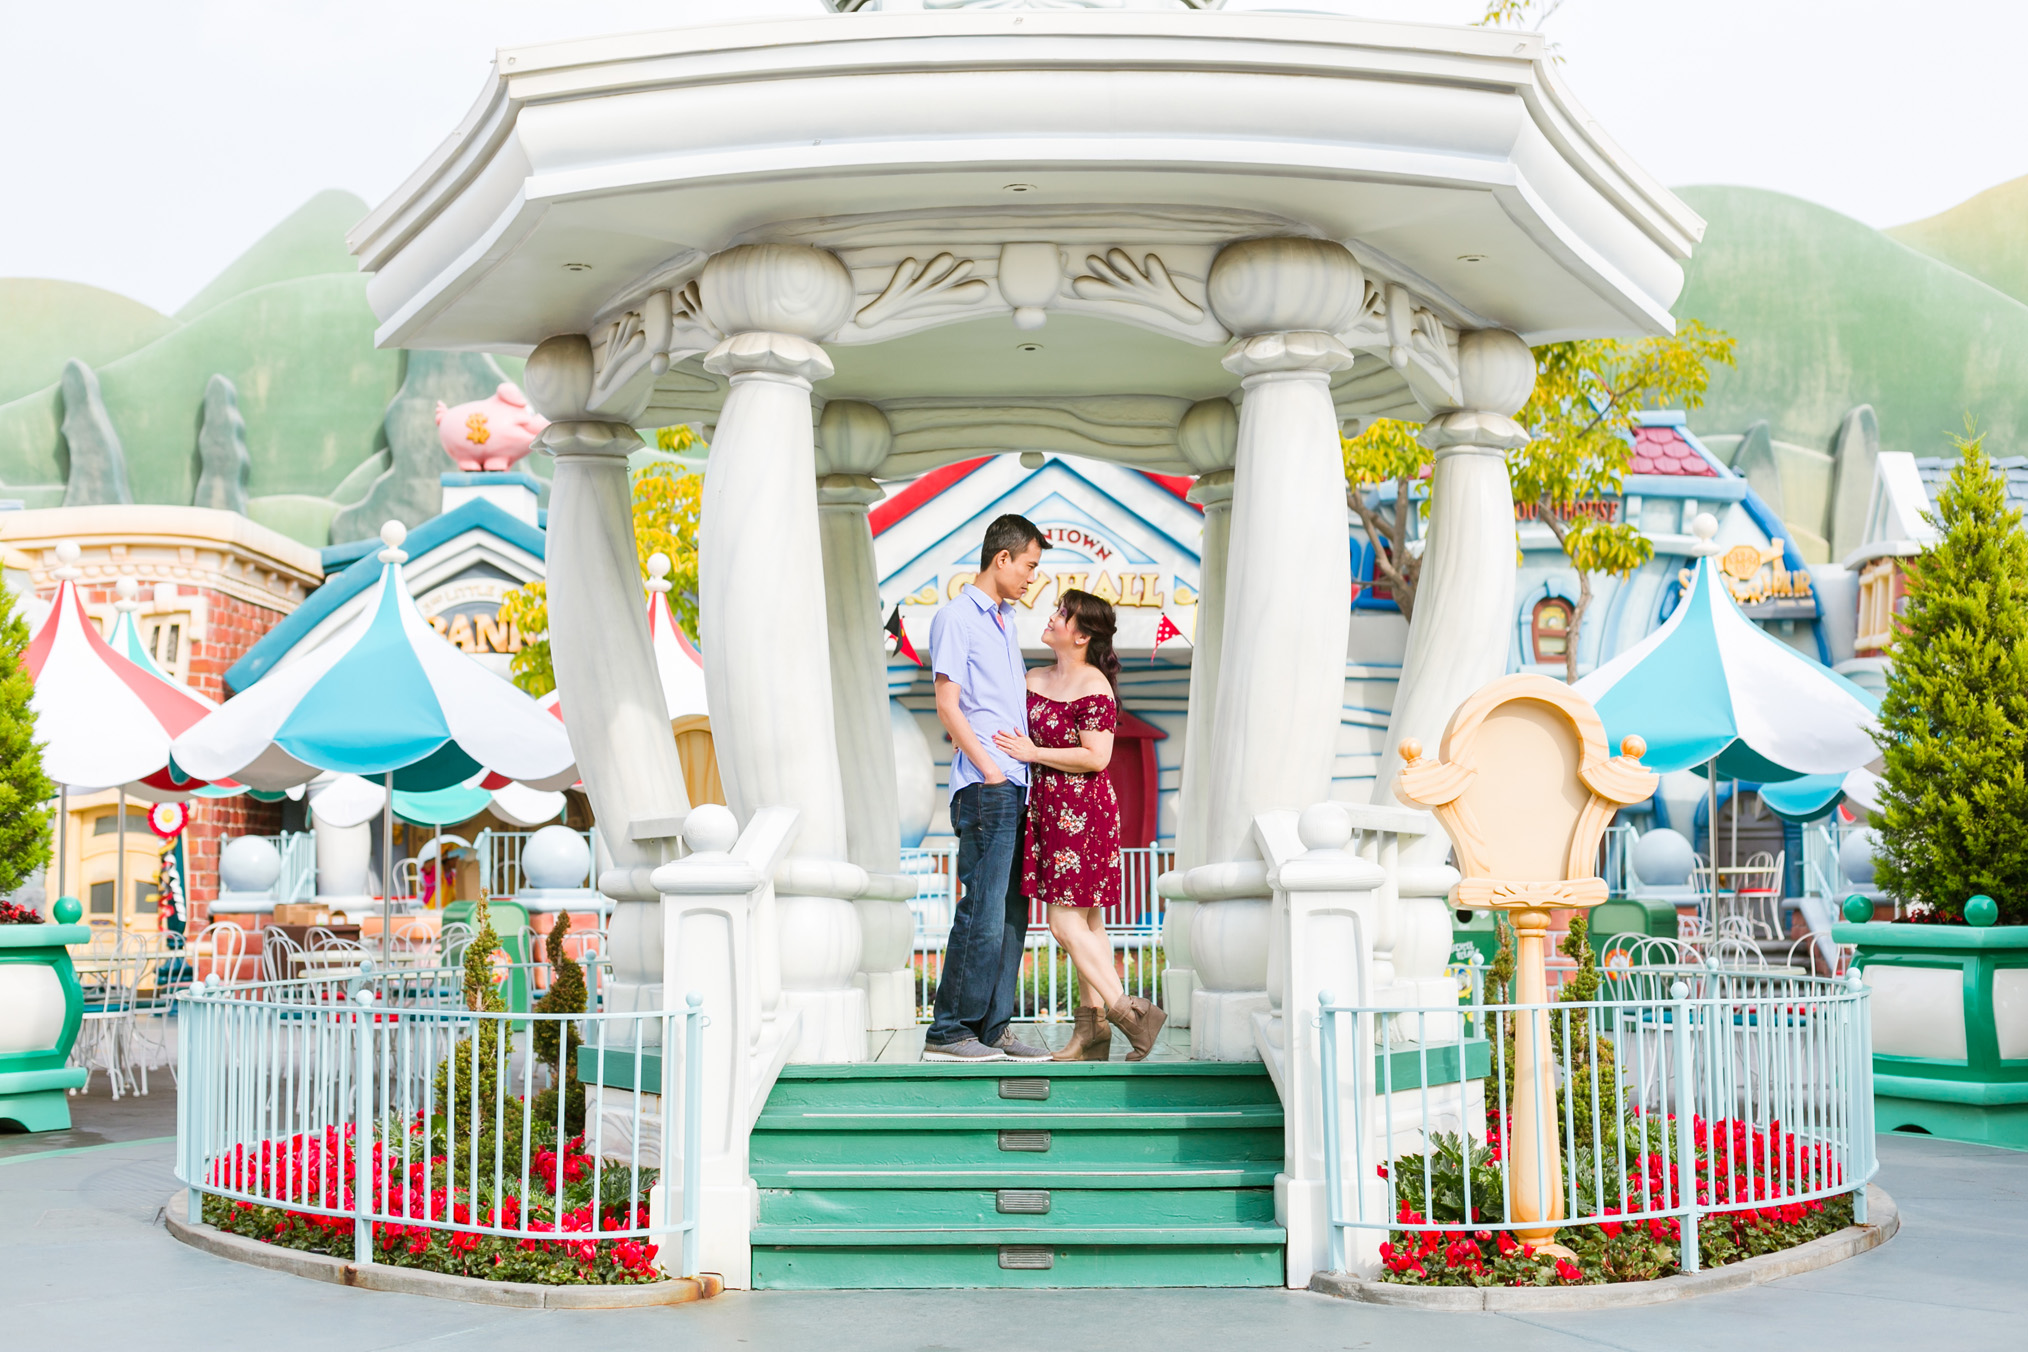
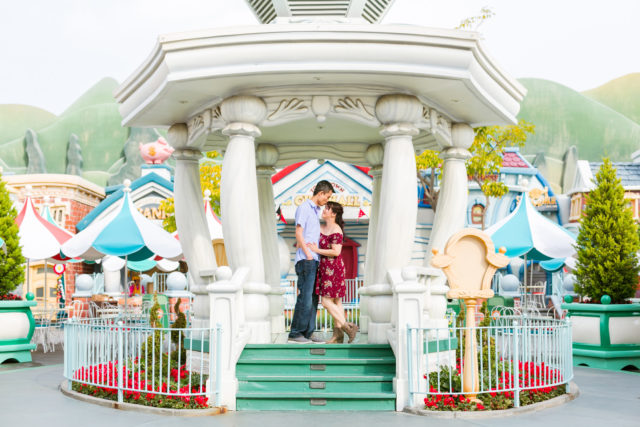
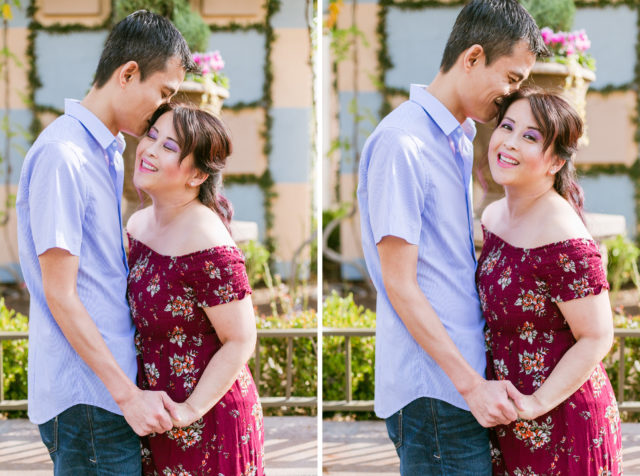
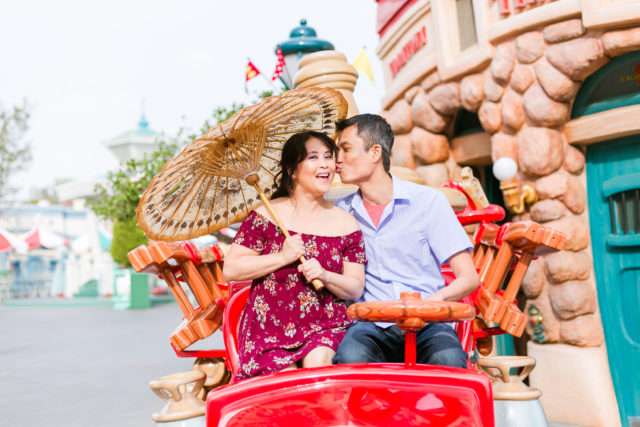
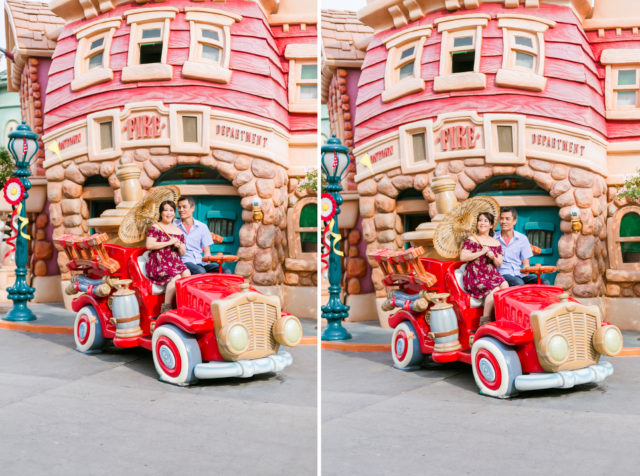
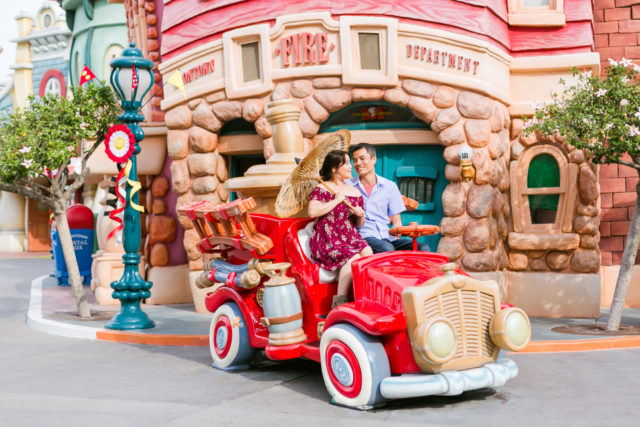
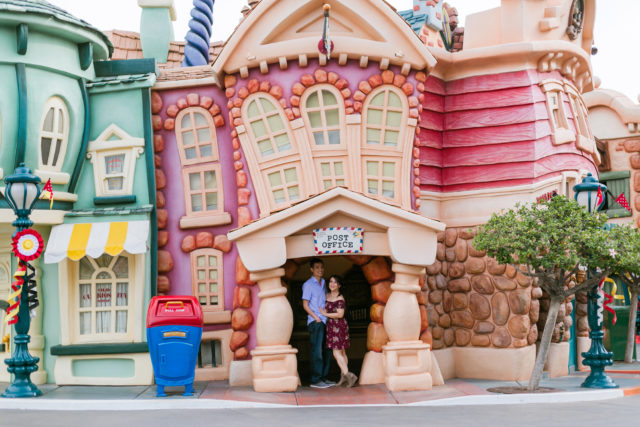
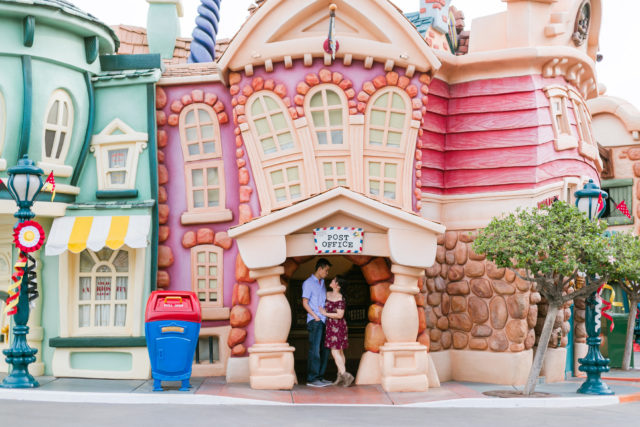
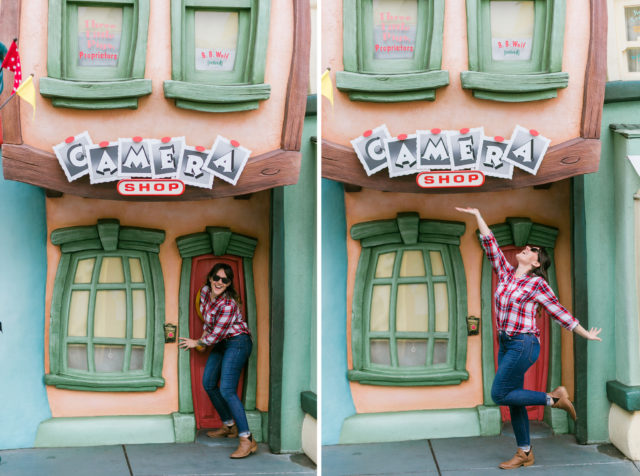
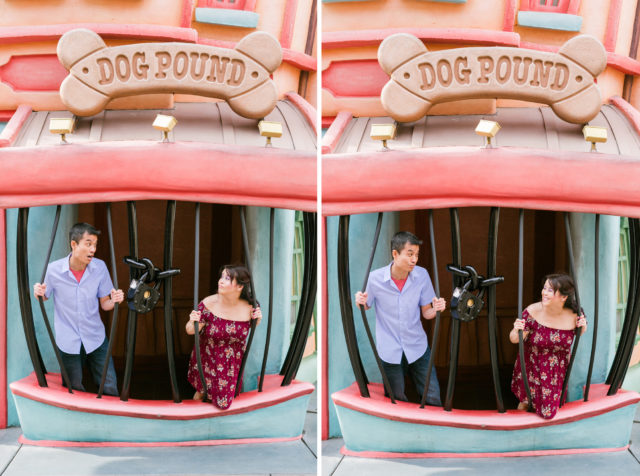
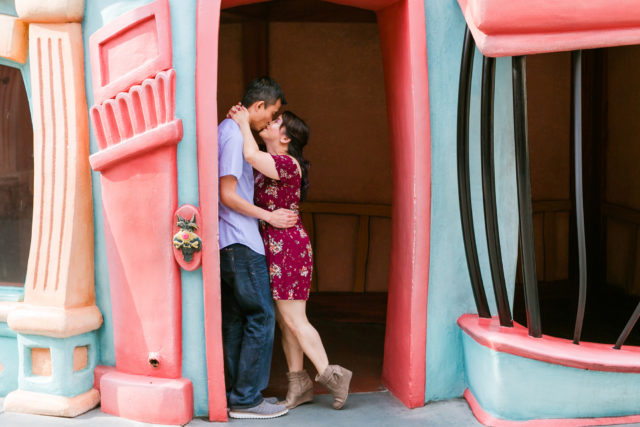
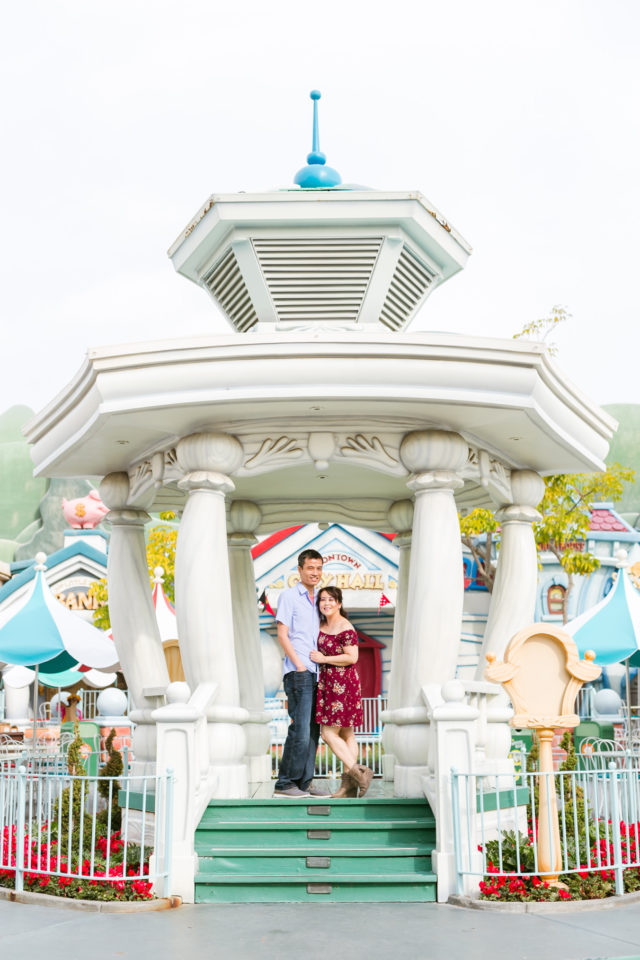
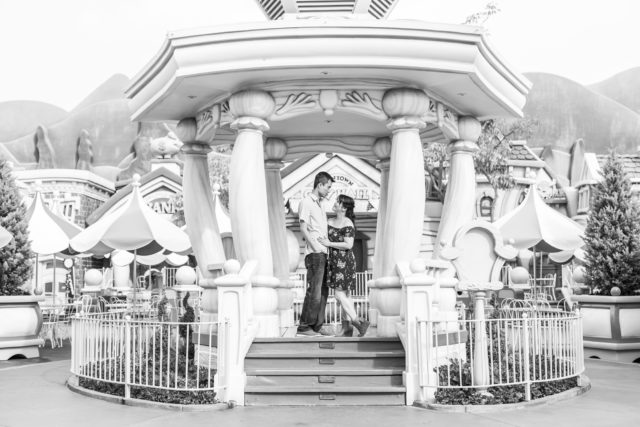
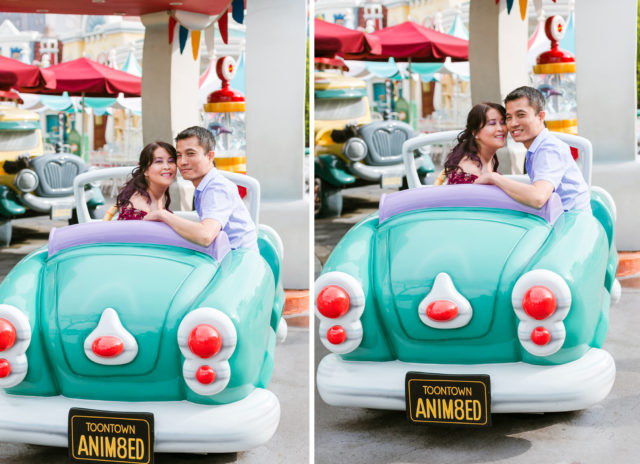
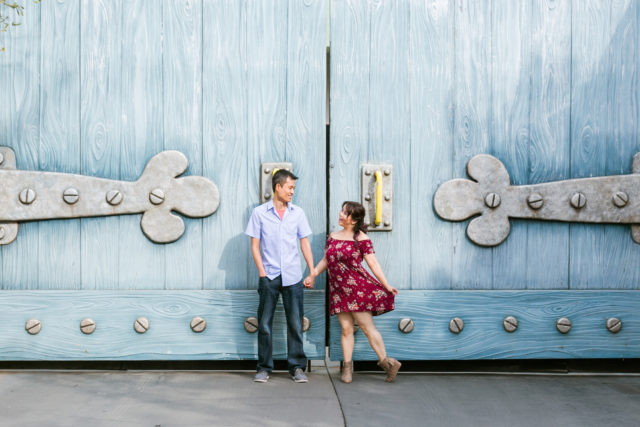
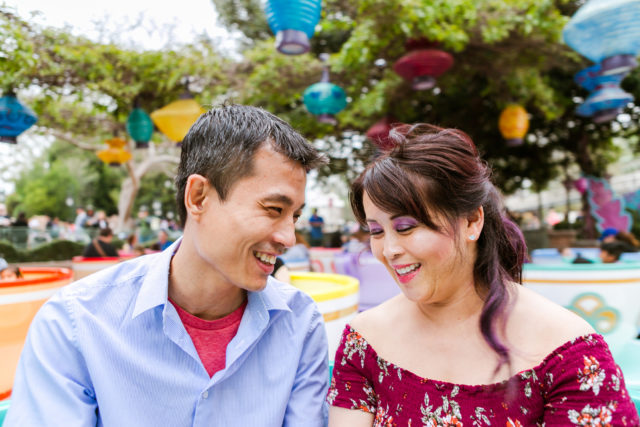
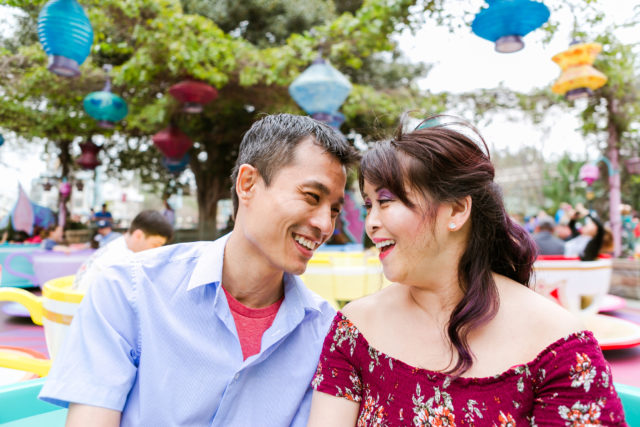
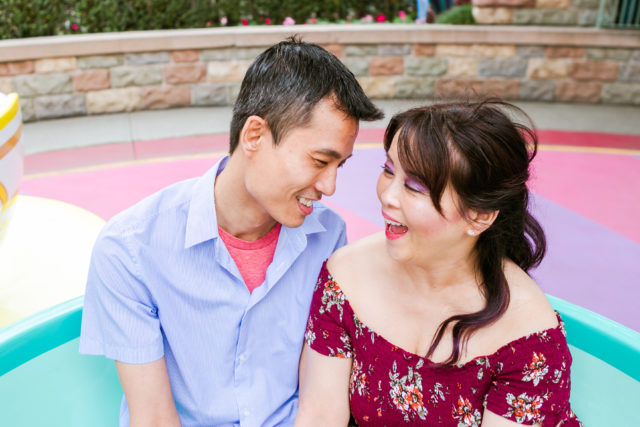
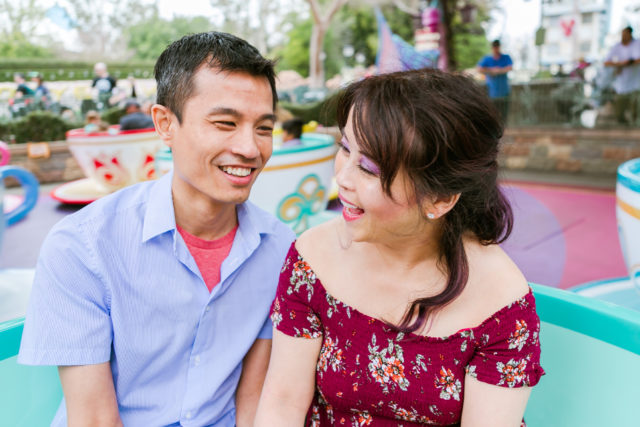
After that, we knew we wanted to shoot in Toon Town and that didn’t open til 10am, so we were some of the first to get in there and take advantage of the lack of crowds.
Could the lighting in Toon Town be any better?! I don’t think so!
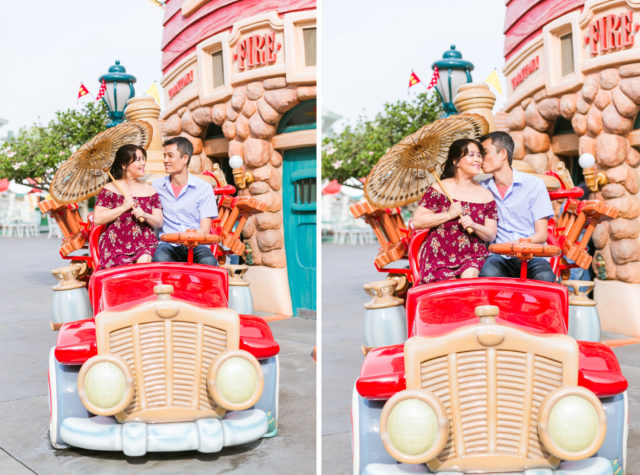

I couldn’t help myself.


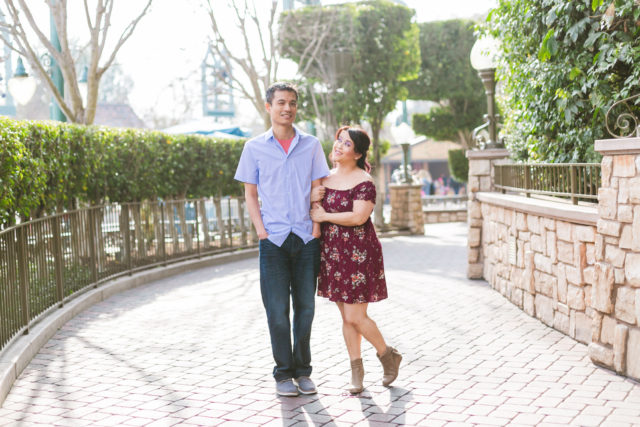
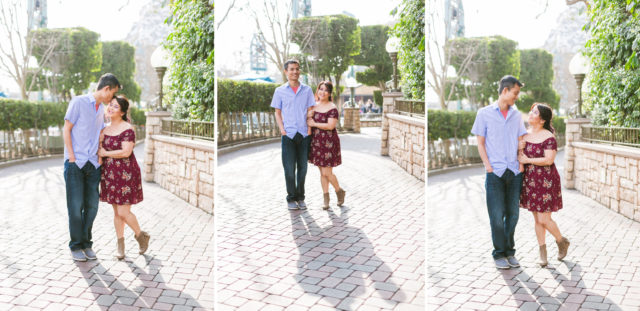
Fantasyland
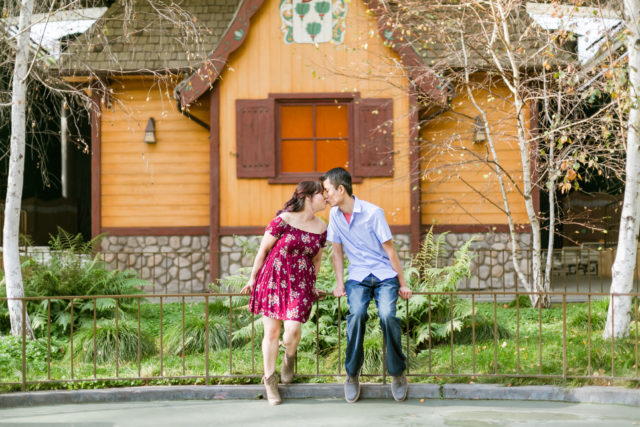
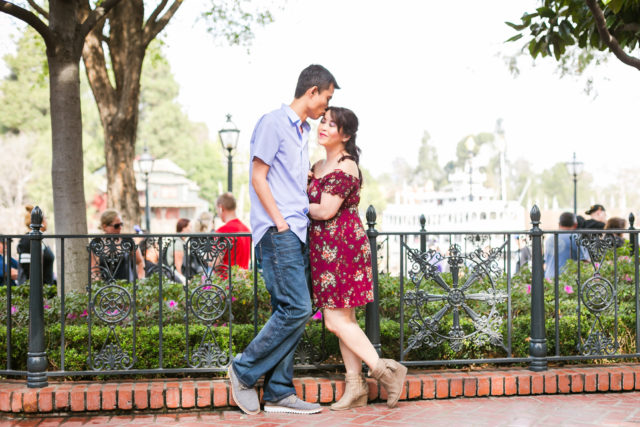
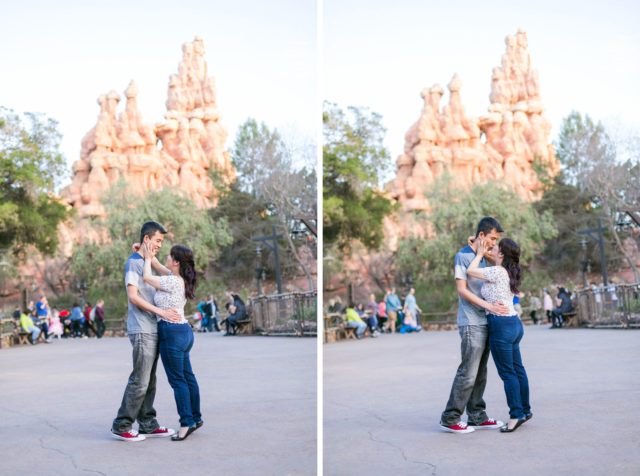
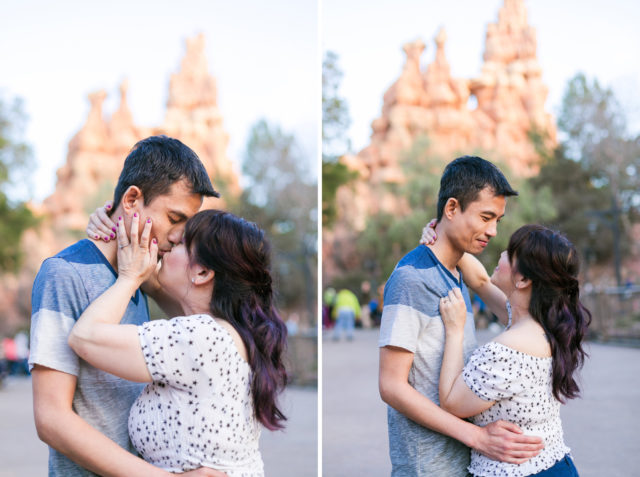
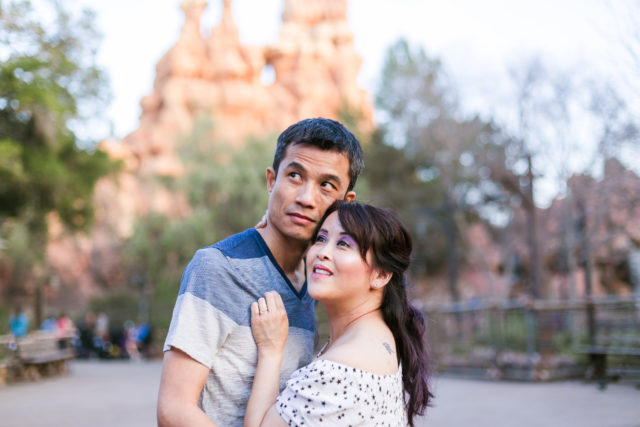
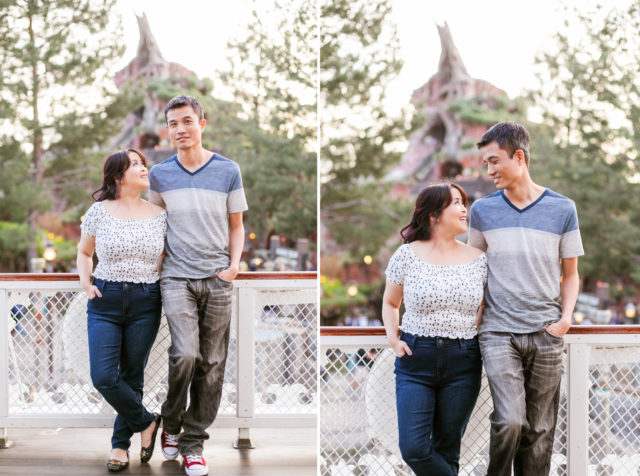
Frontierland
New Orleans Square
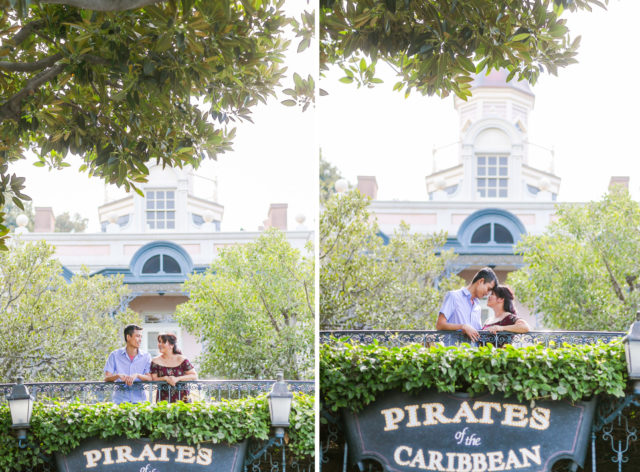
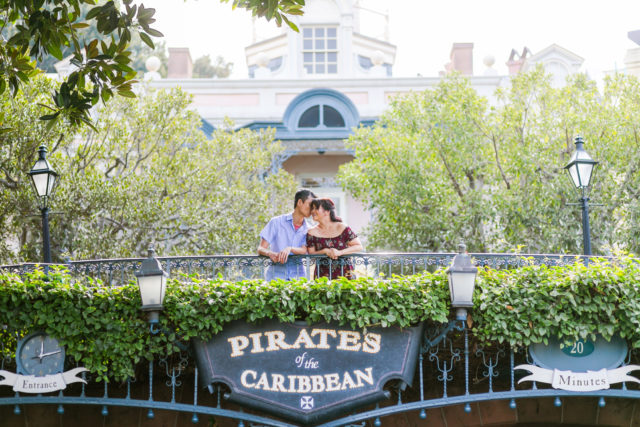
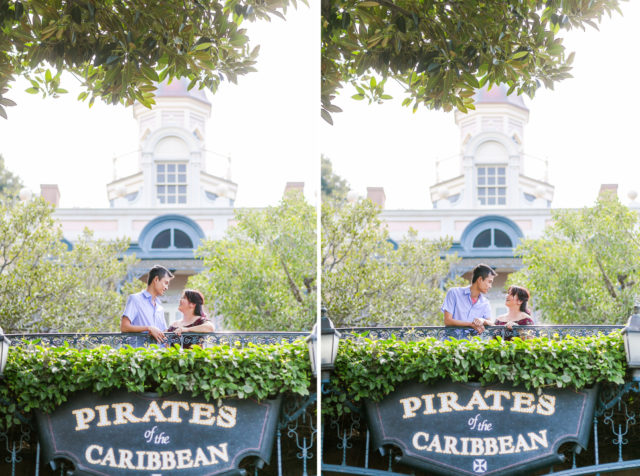

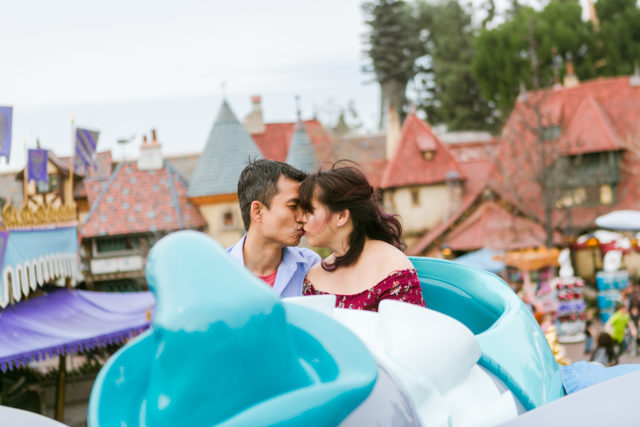
Kent proposed to Michele on the Pirates ride. Being that that is indoors and in complete darkness, I knew we wouldn’t be able to do much on the ride for photos, so in order to get that shot where he proposed, without getting guests in the background, this was our result! There is no shortage of amazing settings at Disneyland.

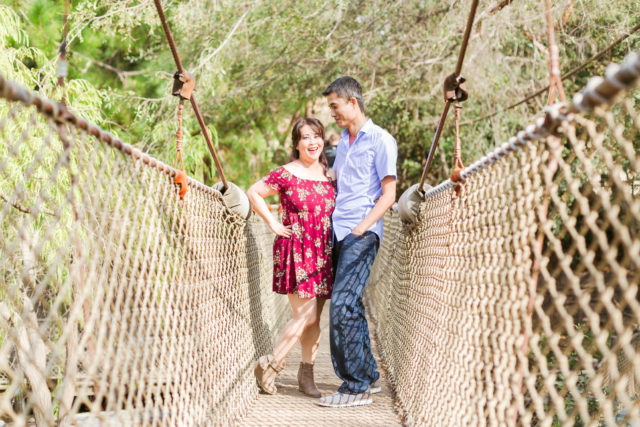
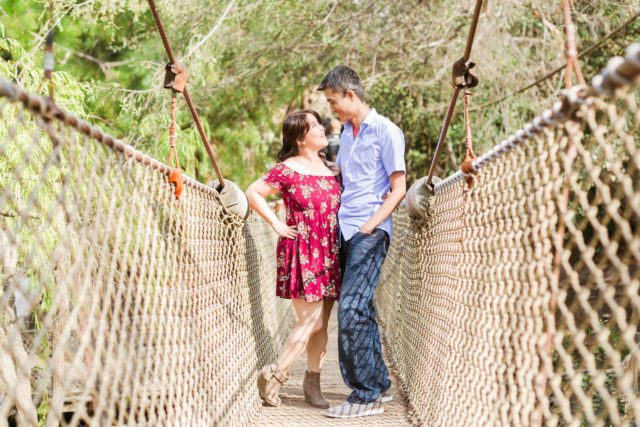
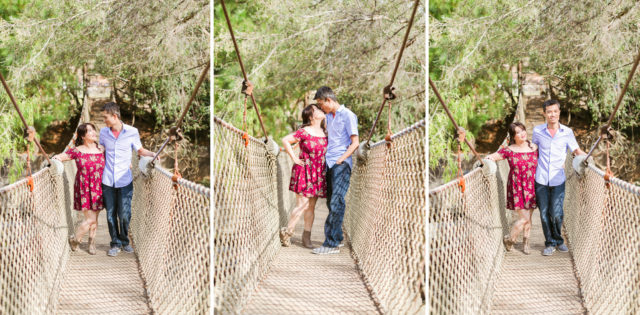
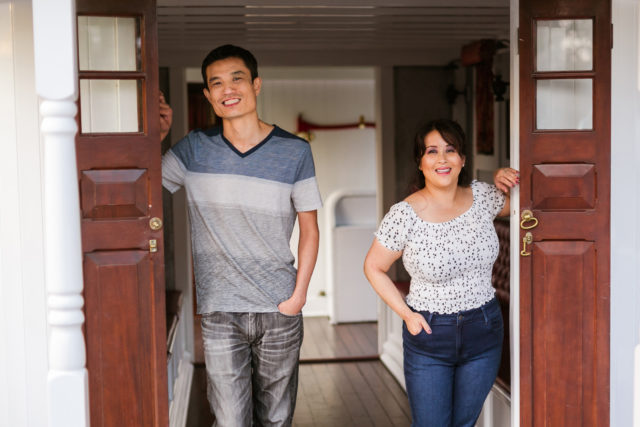
Tom Sawyer Island (now “Pirates Lair”?)
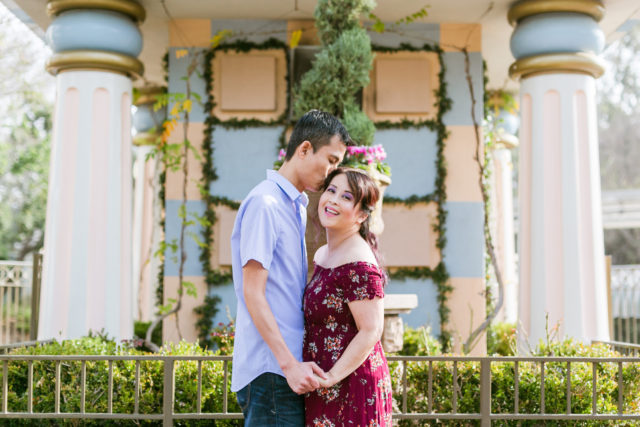
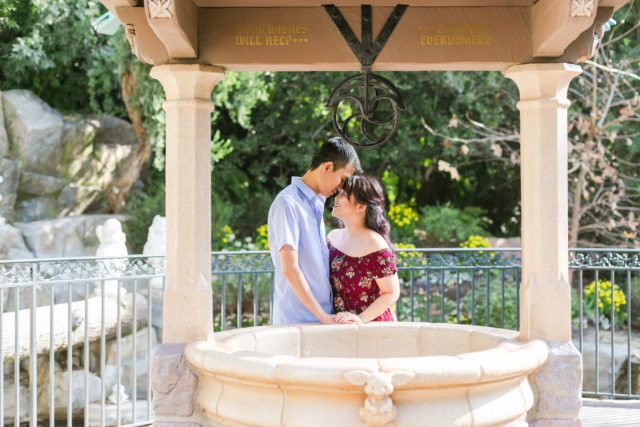
Snow White’s Wishing Well
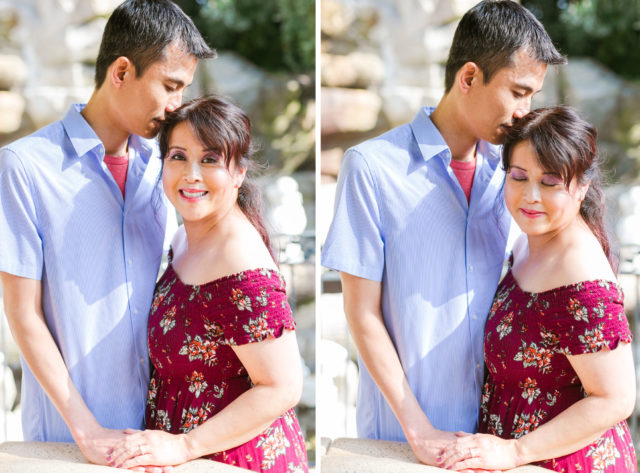
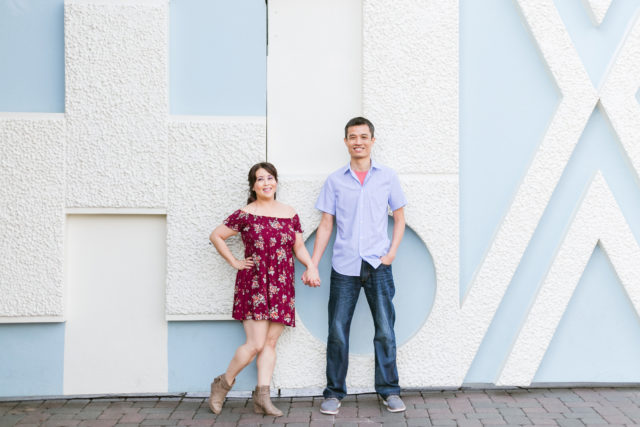
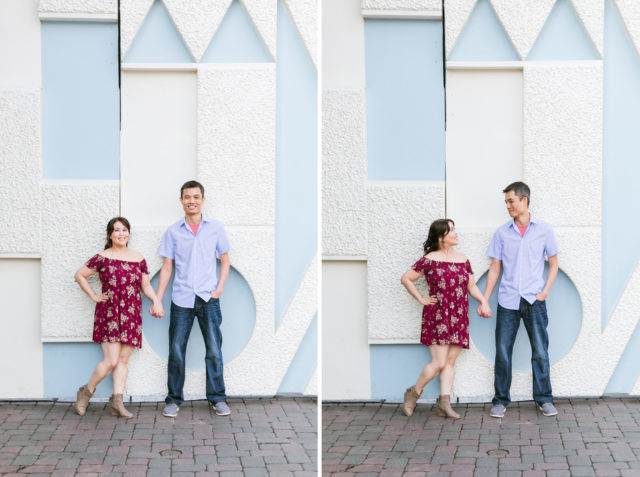
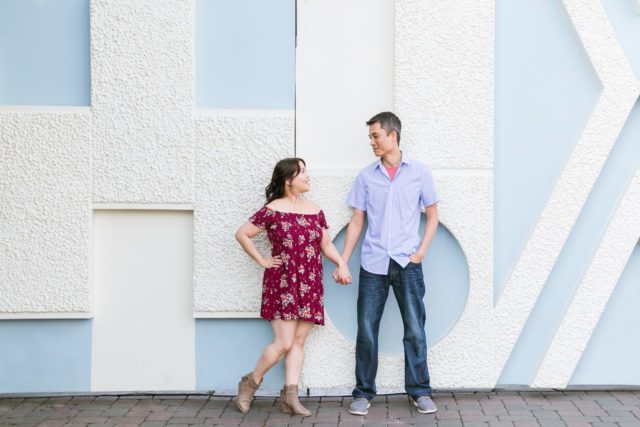
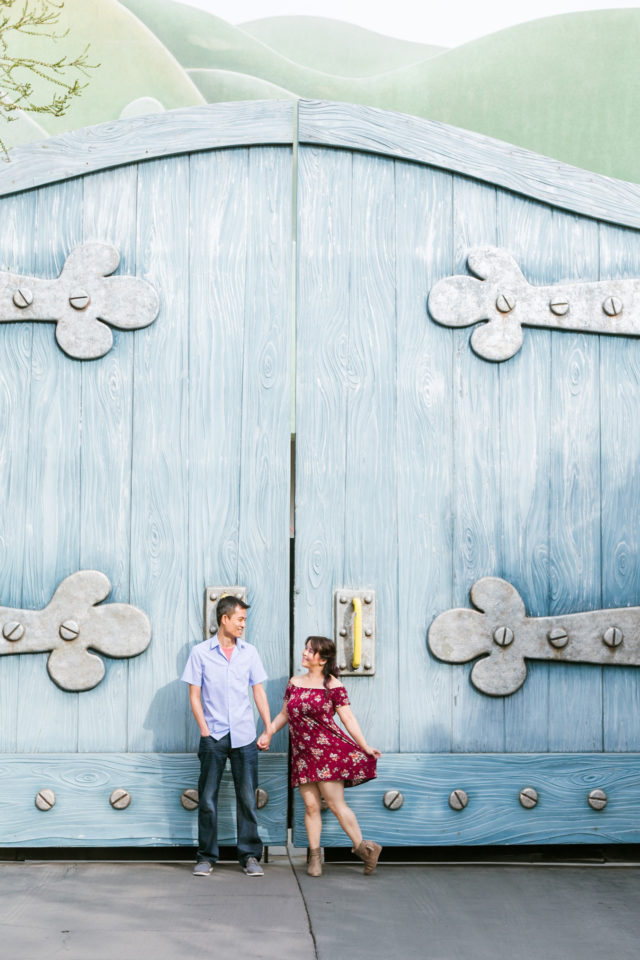
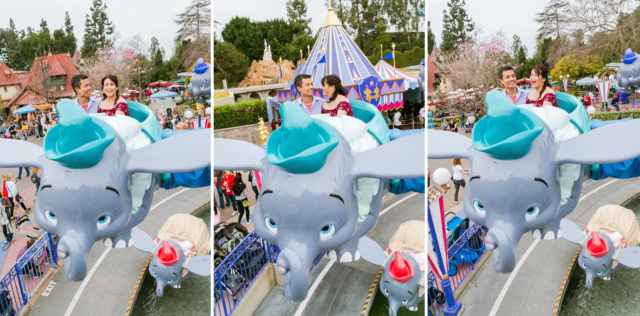
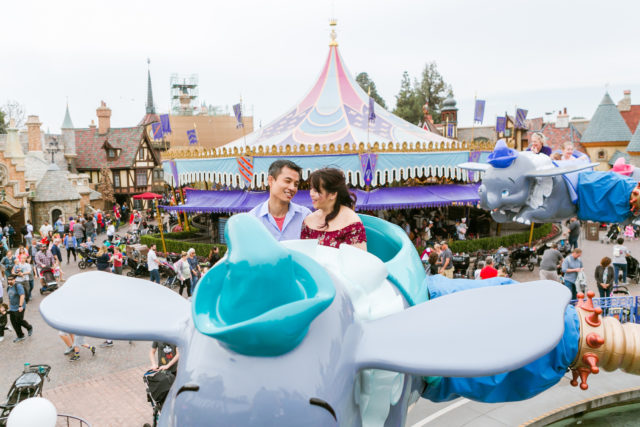
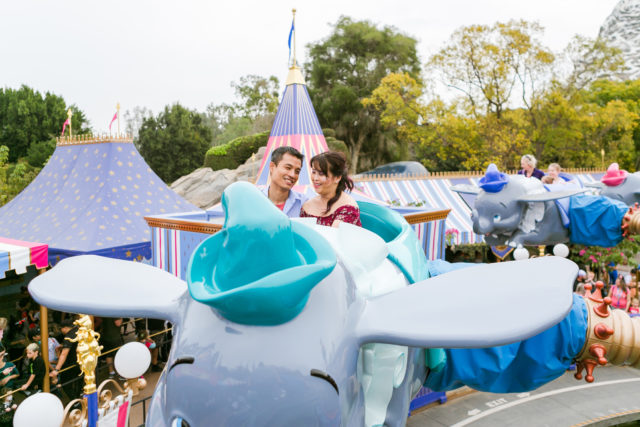
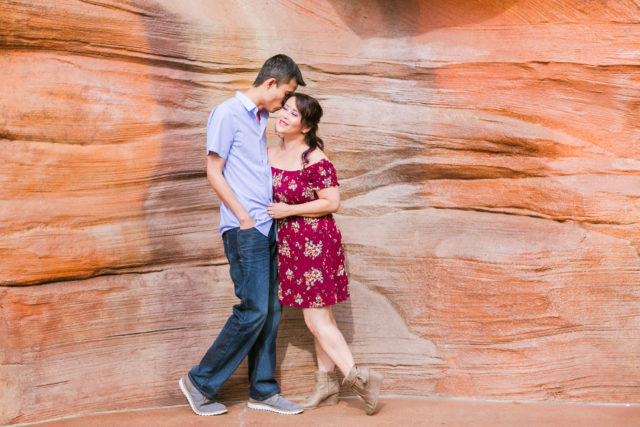
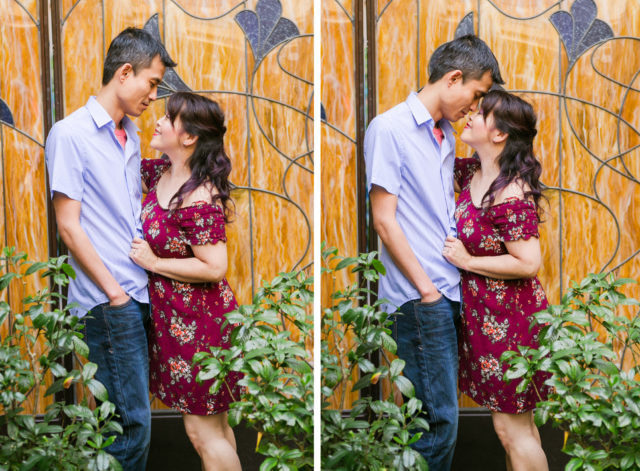
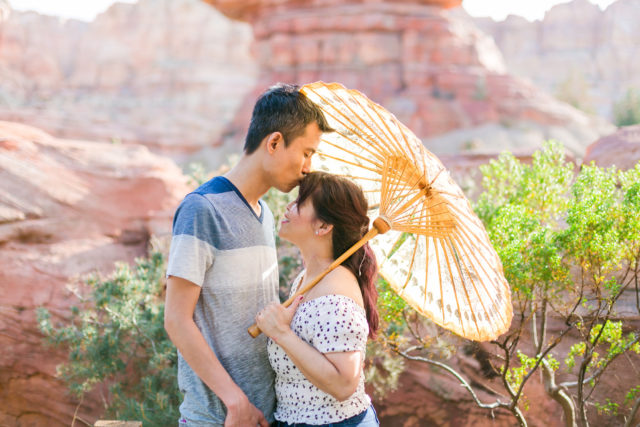
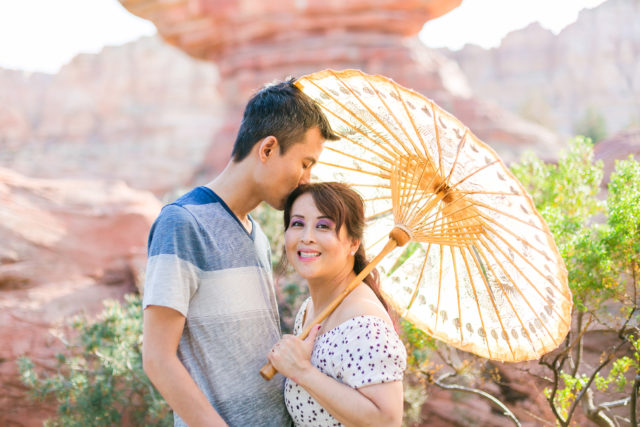
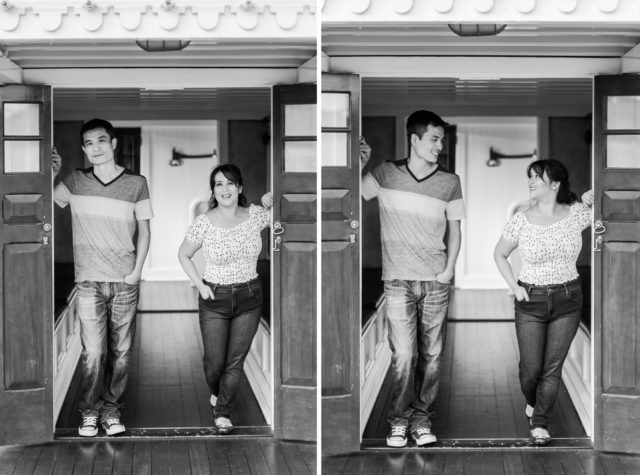
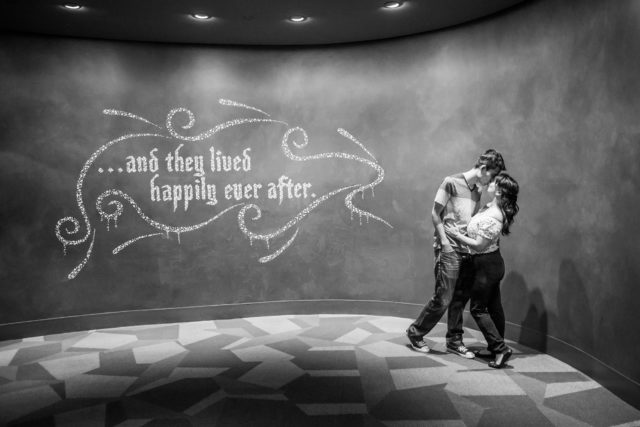
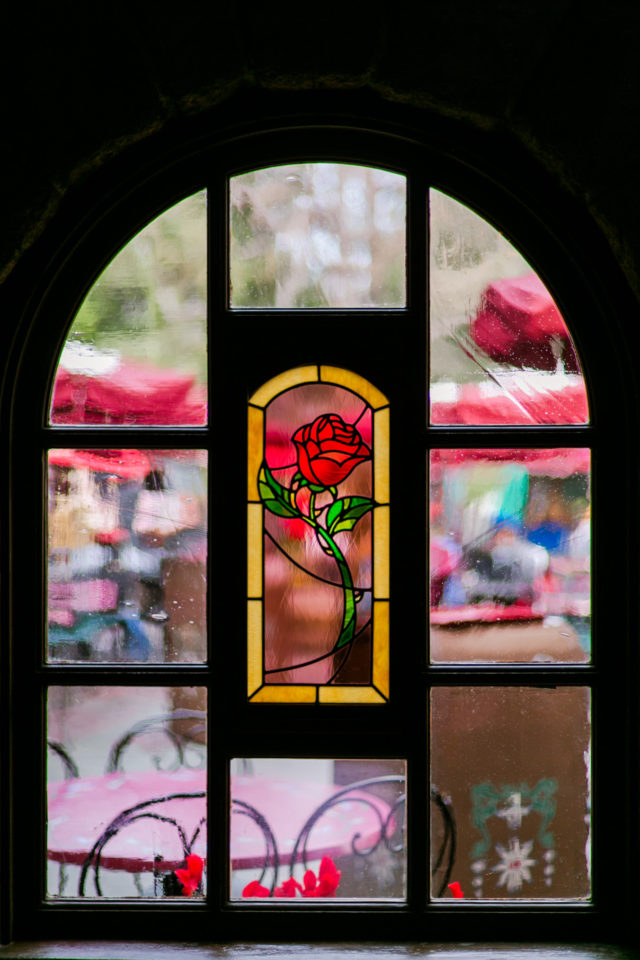
We really had to improvise and use as much as we could around Fantasyland to find some “iconic” stuff that is very obviously Disneyland. Being that the castle is covered in tarps and under construction, we had no choice but to just make everything else work.
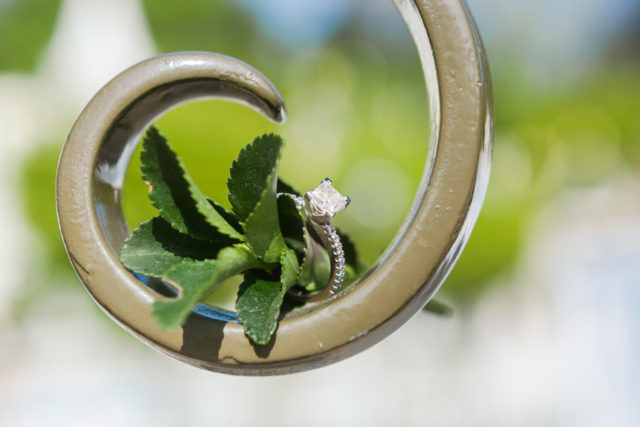
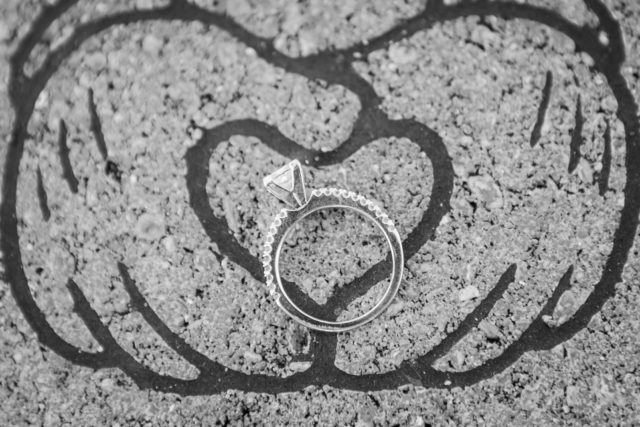
Another challenge I ran into and didn’t expect to: shooting the ring shot! By this point in the day, the sun was completely out, it was hot, and there actually wasn’t a great place to do this macro ring shot. There weren’t many places to put this on where people nearby wouldn’t bump into railings or anything and risk the ring falling off and disappearing. We had to go find a corner where there weren’t any guests and the only place we could find was back by It’s A Small World since it was closed. Luckily I found a way to make it hold on some leafy twig I pulled off a shrub and placed in the most “Disney” looking structure I could find. Somehow, I think it just works.
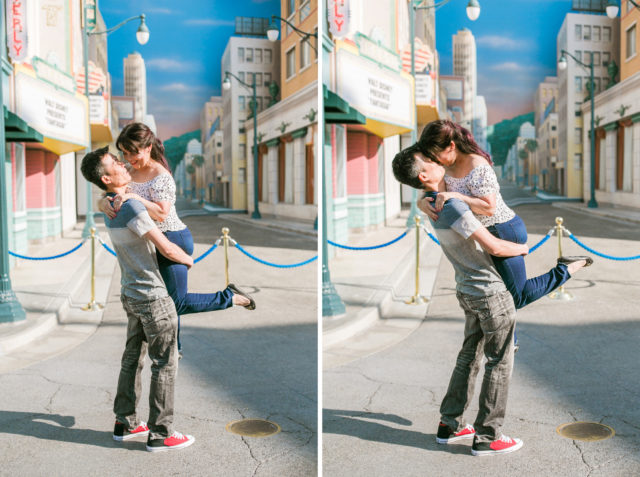
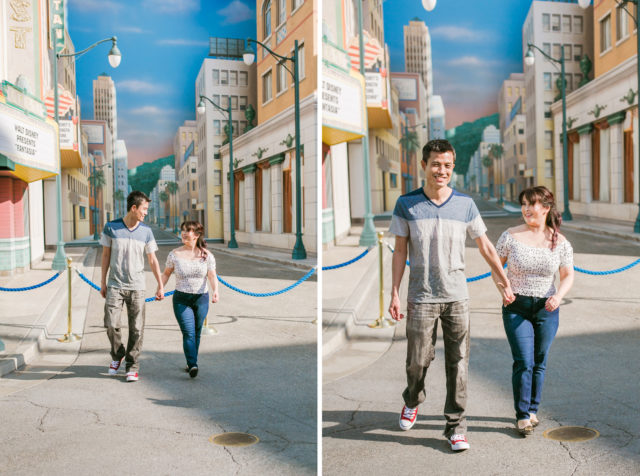
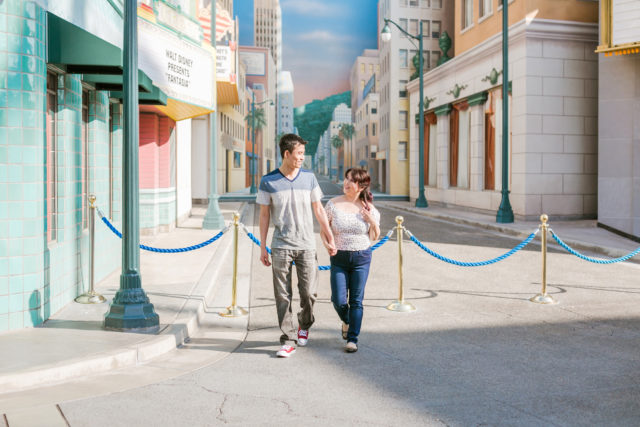
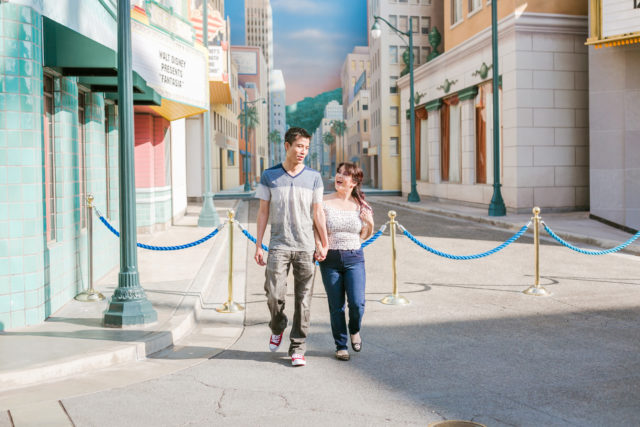
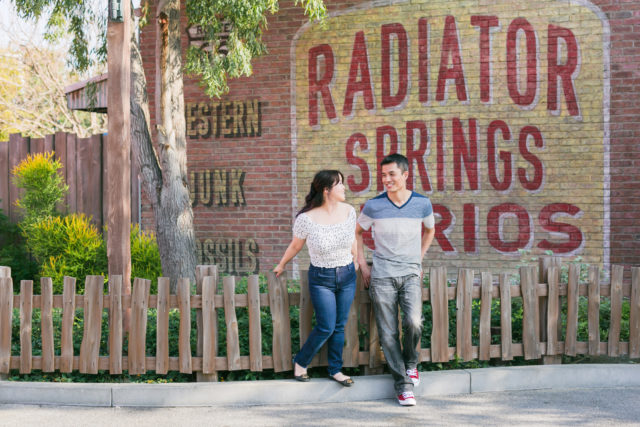
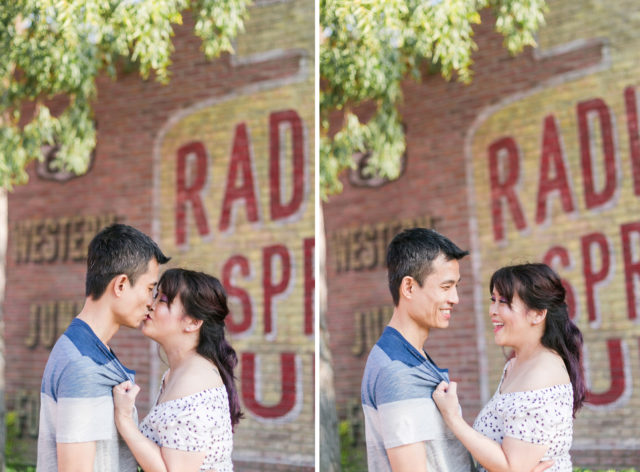
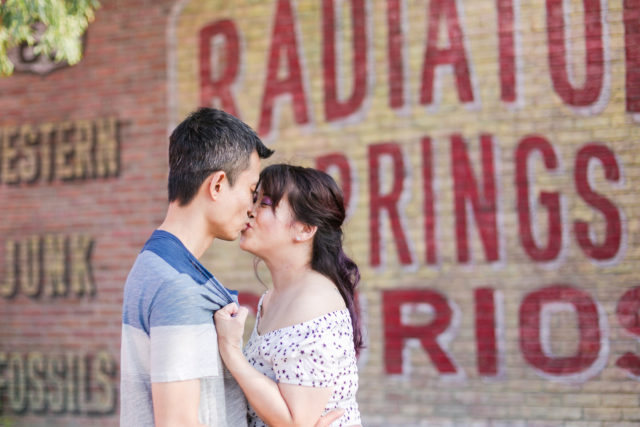
Hollywood Pictures Backlot

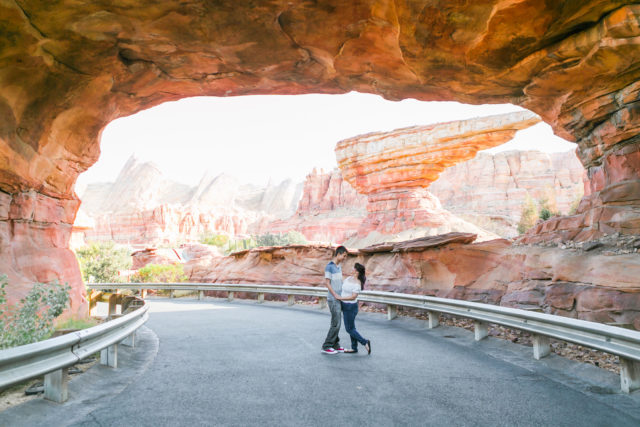
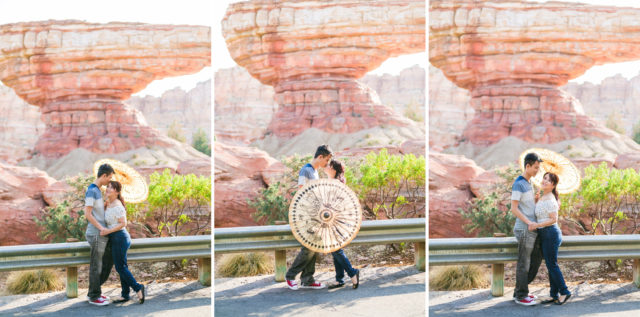
Cars Land


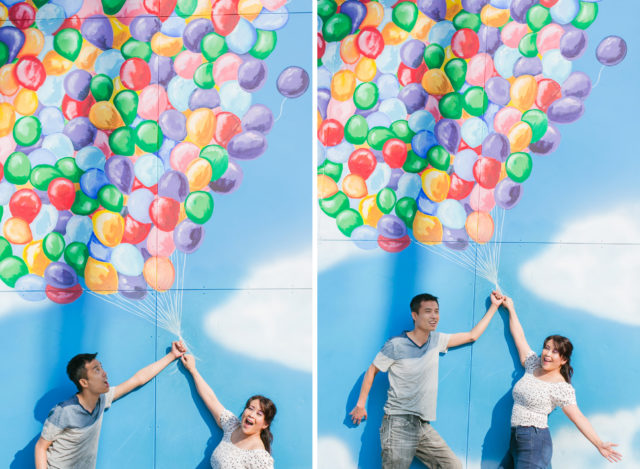
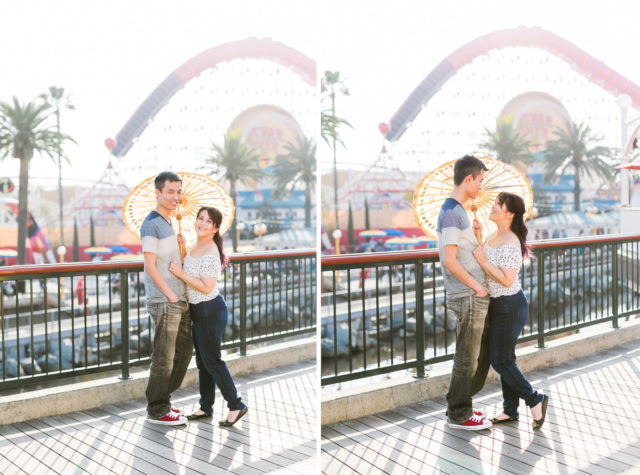
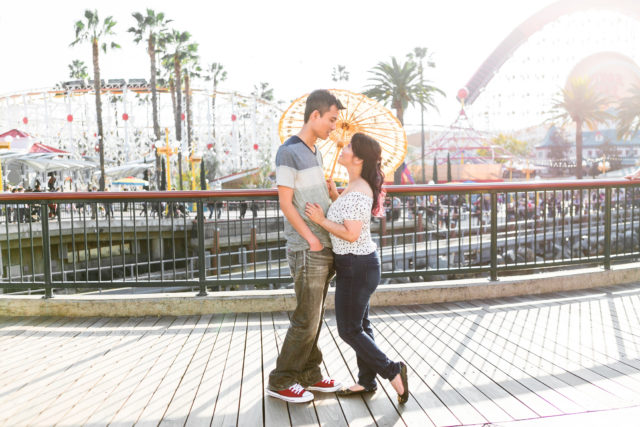
Pixar Pier
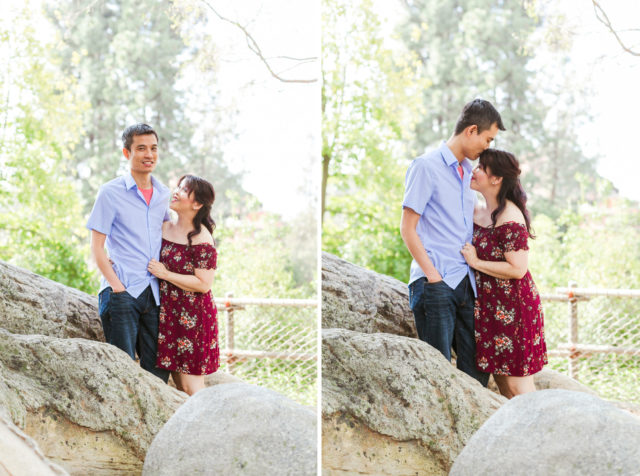
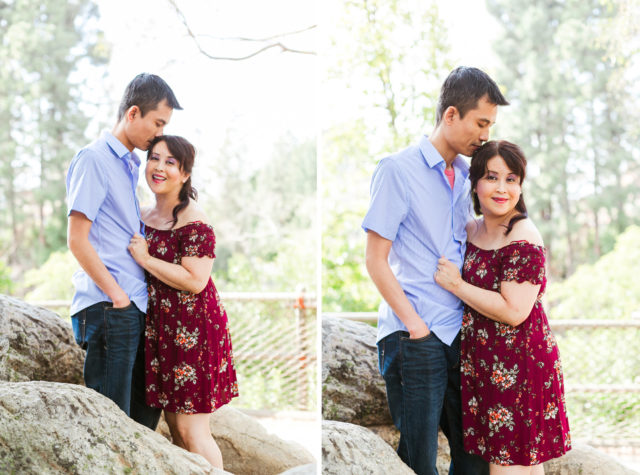
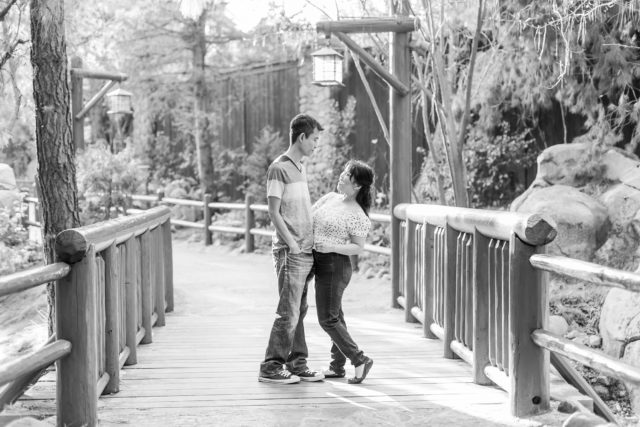
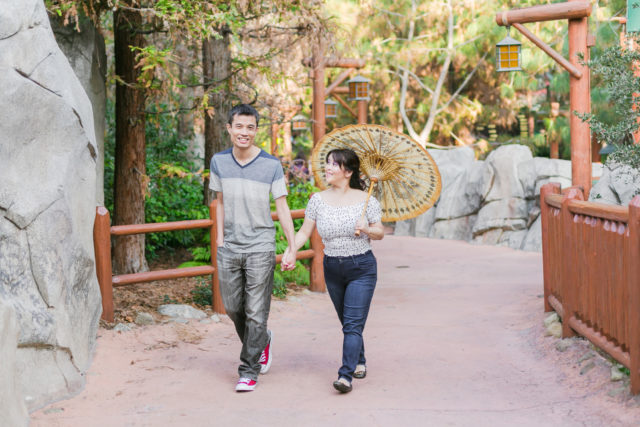
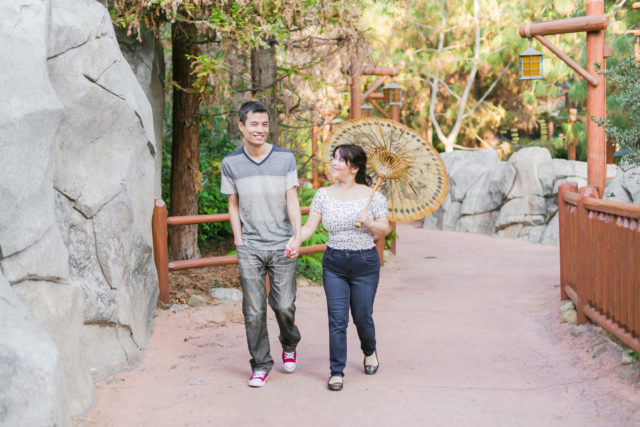
Grizzly Peak Recreation Area
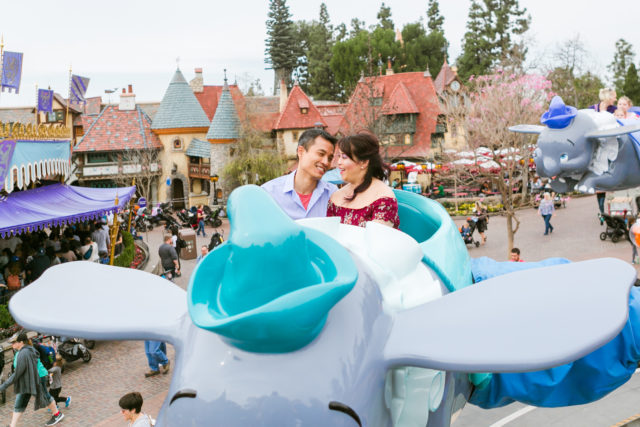
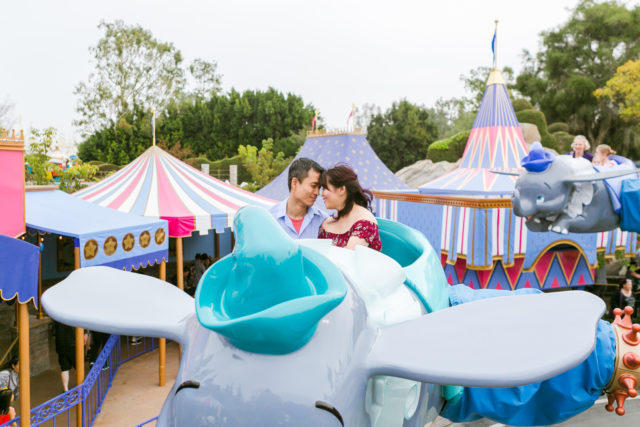
Fantasyland


Frontierland


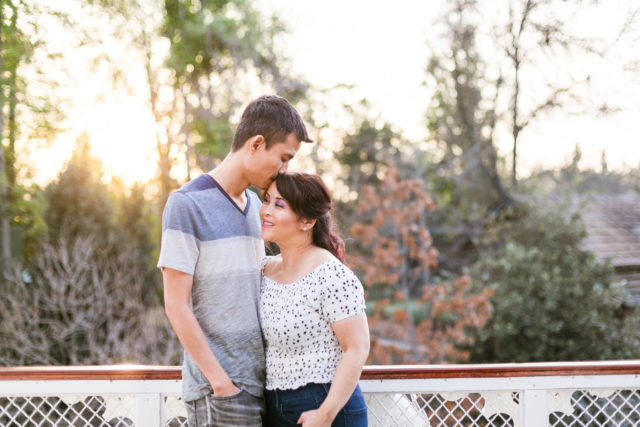
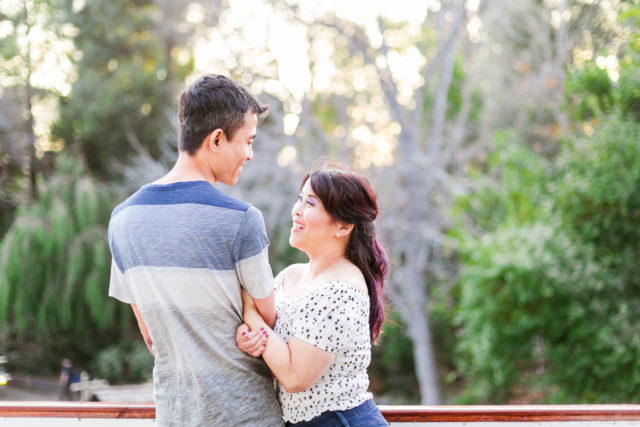
Around this time, I had my eyes open for some “glowy” light as the sun was setting. I knew the Frontierland area and around the lake gets the best golden hour lighting in the park but for some reason, it didn’t quite get as glowy as I’ve seen it before. It may have been the trees that did have opaque-enough leaves or trees that had no leaves at all to capture the glow…I don’t know! I knew that our only shot to find it at this point was to board the riverboat, which luckily was right there and took off immediately after we boarded.
Mark Twain Riverboat
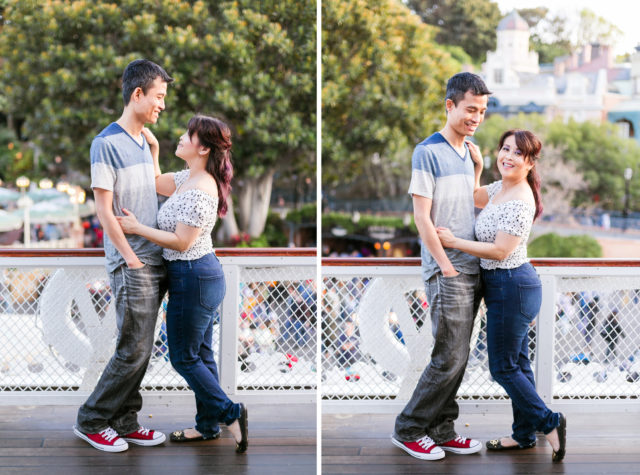


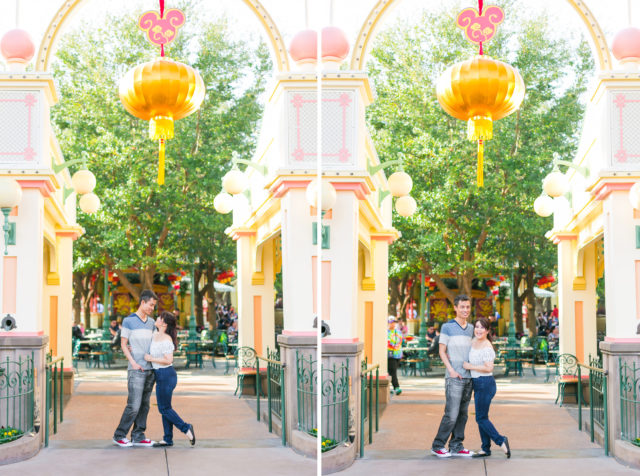
Overall, I’d say we made out like bandits with our images. We got very lucky with lighting and results in most cases. Disneyland can be a tricky place to shoot. The park rules state that no commercial or professional photography where money was exchanged is allowed inside the park. I say this as of right now, not knowing what the future holds, but this isn’t strictly enforced. Guests are allowed to bring in professional level cameras and lenses. I think even a small travel tripod is allowed as long as it folds down and fits into a backpack. But it’s not ok to block pathways and tell guests to move out of the way, so that was something we had to work around, which calls for a LOT of patience and quick-shooting. I even taught Michele and Kent some quick go-to poses to jump into for the very crowded areas in the park, which they totally nailed!
Since I found this session to be incredibly challenging yet extremely rewarding at the same time – as well as very very special to me – I thought I’d share some tips for those planning to execute a shoot like this in the park. I consider myself vetted enough to offer up these tips as I’ve made a career for myself out of sneaking cameras into events and concerts and mastered the art of flying under the radar while getting great images and the fact that I actually used to work for Disney when I lived in Orange County. I know all the secrets, how they operate, where they actually enforce certain rules and where they don’t, which areas the sun sets, etc. Coming from someone with a seasoned eye for lighting, impeccable patience, and suggestions for scenic areas in the park, I consider these tips useful and hope you will too. It doesn’t mean you won’t leave with epic images from the day if you don’t follow any of these, but it should allow for a very smooth shoot in a chaotic place that you do not have to yourself.
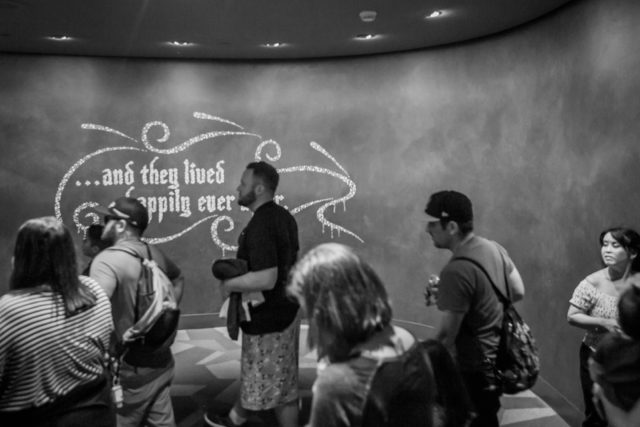
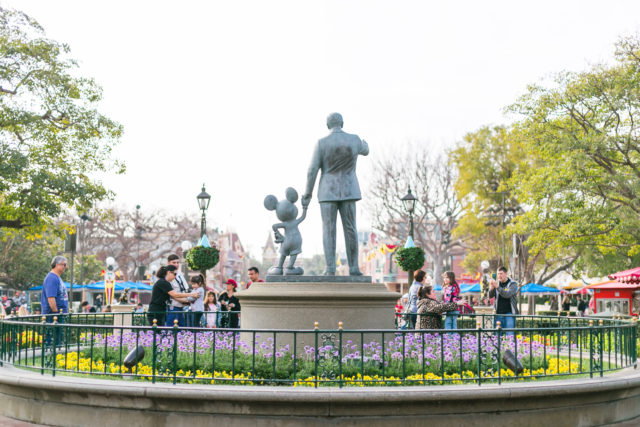
What it was really like: Every few minutes or so, waves of guests walked through where we were shooting.
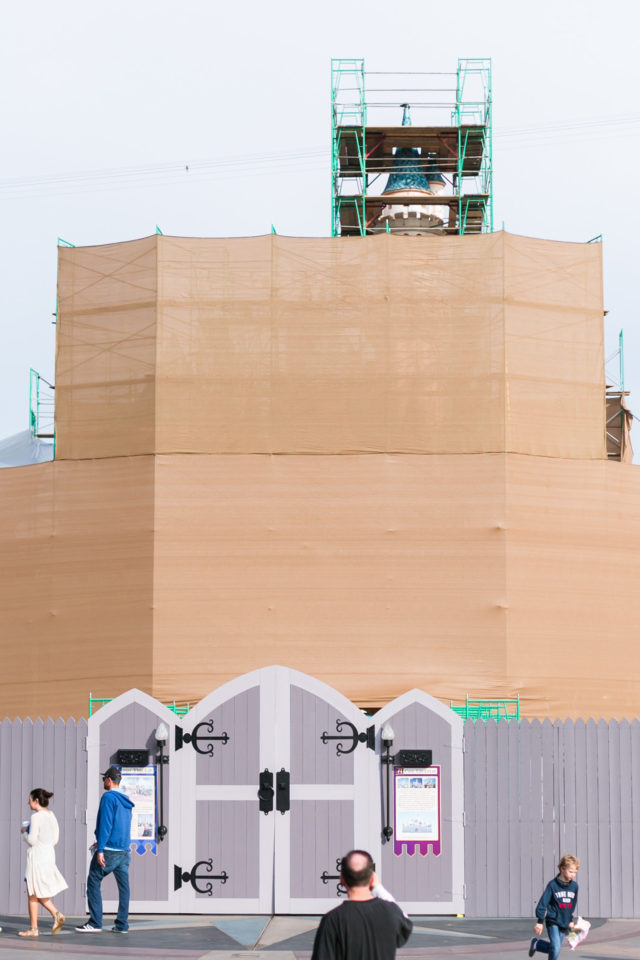
No castle shots today!
Tips for photographers looking to do a shoot at Disneyland:
•Prepare for this to be an all-day event. In most cases, this isn’t a typical engagement (or family) session. Plan accordingly! Expect to be “out of office” all day. Make sure the rate you give to clients covers this, plus ticket, parking, etc.
•Go as soon as they open. If there’s an area in the park where you’d like to shoot with a huge chance of FEW people around, go there first. Do the rides later. Not only are there few people when they first open, but the morning light is usually pretty epic. And also, if you’re lucky, the Disney characters walking around are possibly more likely to interact with you before the larger crowds begin to pile in.
•Fit your gear in a bag you’re comfortable with carrying all day.
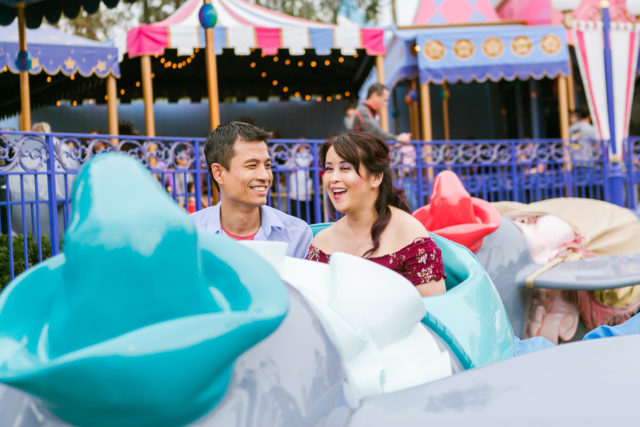
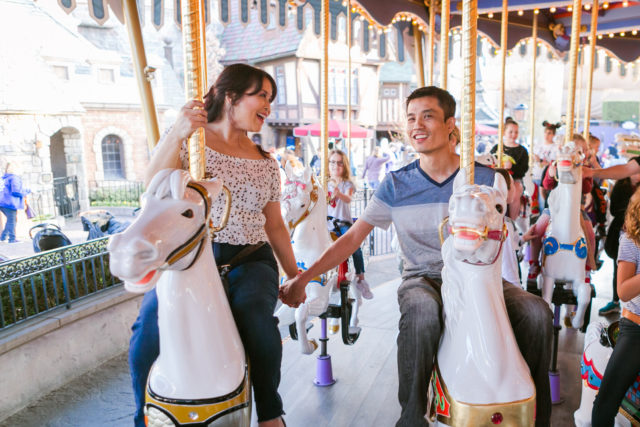
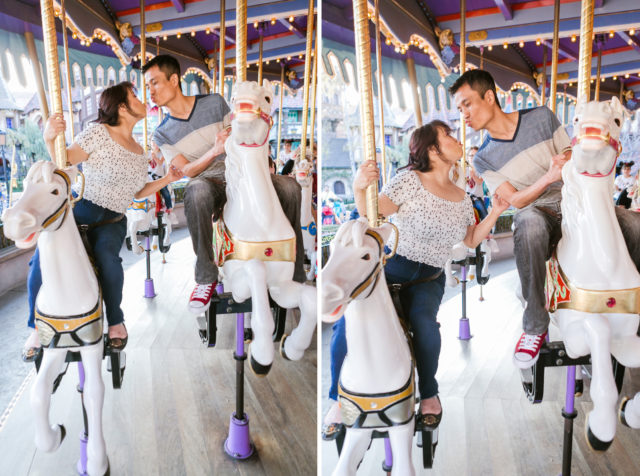
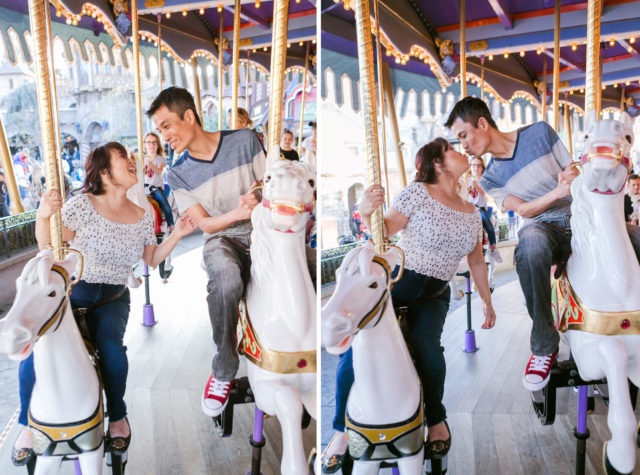
•Try to keep your gear simple. There’s nothing worse than shuffling through your bag to quickly change a lens with people waiting on you. BE READY. It’s hard to predict what you’ll need until you get there but count on shooting a little further away than you normally would as you want DISNEYLAND elements in the background – this is the whole point of shooting here! Your clients want to see that. I took my 50mm and 85mm prime and a 24-70mm for wider shots. Honestly, I rarely took the 85 out. I mostly used my 50, and for wider stuff where I didn’t have much room to back up (Teacups and Carousel images), I shot with my 24-70. If you’re in line for a ride and know you’ll need a wide lens, prep your camera with that lens and test the light before the ride gets going.
•Teach your couples some “quick poses” to jump into before heading into the park. I taught Michelle and Kent some basic core poses in the parking lot that they could quickly go into for most of our shots and saved other advanced stuff like “the lift” for areas where we weren’t rushed.
•Learn the lay of the land! If you’re not familiar with the park, familiarize yourself with it. You’re probably not expected to know what lighting looks like in all the lands at all times of the day (unless you’re there every day), but having a good idea of when to come back for more flattering lighting is important (ie: going on the Mark Twain riverboat was a must, but doing it in high noon light wasn’t favorable so we waited til the sun was setting behind the trees to go on it for photos for some golden hour glow). Also try to find out ahead of time what rides or attractions will be closed that day. As it turned out, the freakin CASTLE was under renovation on our shoot day. More on this later!
•Keep it discreet! Though they weren’t enforcing it, professional shoots aren’t allowed at Disneyland. I’ve seen SO many photos online of shoots that are obviously taken by a professional, but you should still play it safe and not draw attention to yourselves. Don’t be that one photographer who ruins it for the others. BE PATIENT. Let people pass, don’t tell them to move, and be kind. The waves of guests passing by DO pass. You will get a lull, brief or not. During the wait, have the couple ready, that way once it’s all clear, you can immediately start snapping away.
•With that, I feel it’s also necessary to remain calm and collected. It’s stressful, kids are screaming, the park ALWAYS smells like a giant outhouse, especially when it’s hot and humid, your feet will hurt, etc etc etc. Just deal with it with a smile on your face. Your clients are investing in this and they’re probably stressed too. They’re leaning on you to guide them and once they see their photographer lose their patience and start stressing, you’ve lost their trust. They could have just done something like taken photos in a field or on a beach somewhere, but they chose Disneyland. And they chose YOU.
•What to do when the castle – the ICONIC LANDMARK of the entire park – is covered in tarps and being renovated. ARE. YOU. KIDDING. ME. This goes back to knowing what rides and attractions are closed for that day. Find these things out ahead of time. While this isn’t a deal breaker, I wish I did know this ahead of time. Michelle already knew about it since she goes here all the time, but this didn’t turn out to be a big deal to her. They have other spots that are special to them (ie: Pirates of the Caribbean where Kent proposed) and every pocket of that park is photogenic so luckily for us, this didn’t end up being a big problem. It forced us to take another approach at capturing all the iconic Disneyland backgrounds. As a bonus, we had Peter Pan photobomb us. That to me was probably better than a shot of them both in front of the castle. The castle has been done. But how many couples can say they had Peter Pan photobomb their shoot?
•Pack extra batteries and memory cards. I did the entire day on a 64gb CF card and had room for more leftover. You definitely don’t want to over-shoot the day but do expect to leave with about 2000+ images that you have to cull and edit and deliver. (TIP: if you’re a Canon user and have your shutter settings on AI Servo, take it off and shoot on AI Focus or One Shot.)
•Leave the external flash at home, and a spare camera body in the car. External flashes may raise a few eyebrows as flash photos are not allowed on rides and that accessory starts to suggest you’re going to take some non-amateur photos. If you’re a natural light shooter, you won’t even need it. Also keeping a spare camera body hidden in the car or locker is smart in case something happens to your primary camera. With cameras all over that park and security everywhere, I don’t think many cars get broken into in their lot, but, with that said, do this at your own discretion.
•If clients suggest shooting in a certain area in the park that is currently in harsh direct sunlight and you suggest to come back later, know what time you expect to be back for that. Know which way the sun is setting and how soon that spot will be in more diffused light and set the time so you don’t forget. It’s easy to let something like that slip. The park is large, there is so much to do, it may not be as easy as it sounds to go back to that spot later.
•Take a break to eat. You’re doing a lot of shooting and a lot of walking. Take advantage of the Starbucks in either park. And stay hydrated!
•And lastly, go celebrate! Once the sun has set and you don’t plan on taking night time shots and you’re done, go play! You just did an entire day of shooting at Disneyland and spent it with clients who are hopefully more than just clients at this point and are now friends. Grab a frozen margarita and a Fast Pass for your favorite rides!
Tips for clients looking to hire a photographer for a session at Disneyland:
•Plan to have a decent budget for this. Not all photographers will have an annual pass and 1-Day park hopper tickets are around $200. This isn’t a typical session. Your photographer will be with you and away from their desk for the majority of the day, especially if they don’t live near the park. They may quote a little higher than their typical rate.
•Go as soon as they open. If there’s an area in the park where you’d like to shoot with a huge chance of FEW people around, go there first. Do the rides later. Not only are there few people when they first open, but the morning light is usually pretty nice. And also, if you’re lucky, the Disney characters walking around are possibly more likely to interact with you before the larger crowds begin to pile in.
•Keep in mind the time of year – is it off-season? Or during a holiday or the busy summer season? Weather and sunset times aren’t the only factor here, park hours vary as well. Disneyland closes as early as 8pm during the weekday in the winter time.
•A weekday in the off-season that isn’t a holiday is probably the best case scenario – as long as it’s not pouring rain unless of course, that’s what you’re into. Your photographer might charge you an emotional distress surcharge for them having to wear a ridiculous poncho all day. Ha! Kidding.
•Think of your “must-have” locations ahead of time and tell your photographer those are important to you. Also research ahead of time to find out which rides and attractions are closed for the day or anything currently being renovated (ie: THE CASTLE!).
•This isn’t really necessary, but probably helpful to have a photographer who knows their way around the park and familiarity with how certain areas and lands inside the park look at different times throughout the day. Some areas might be in full sun early in the afternoon but will be in way better-diffused lighting later in the day. Depending on your photographer’s style, they may prefer the latter. Trust your photographer.
•Just like you would with any other engagement or family shoot, plan those outfits! Keep in mind, you want to be comfortable, but still look nice. Obviously, for the ladies, skip the heels. Only wear a shoe you can walk in (ie: strappy sandals, ankle boots, flats, etc.) For this shoot, I actually did Michelle’s hair myself, in the car, in the parking lot. Being that we arrived at the park very early when they opened, she didn’t have time to swing by a blow-dry bar and have her hair done up, so I thought the most flattering put-together yet casual hairdo that would work best for her is loose curls and partially tied back would work best and it did! It worked well for both her outfits and also flattered her face. It stayed up all day, even after going on a few rides. If you’re interested in doing an outfit change halfway through the shoot, this is where the park lockers come in handy. You definitely don’t want to be holding bags and backpacks all day.
•Also, keep everything in that locker. Take the absolute bare minimum! Your phone, money, and maybe chapstick or any little necessity you have to have on you, the photographer can always hold for you. We’re more than likely carrying a bag with our lenses so we can totally hold your phones. A lot of the time, you’ll be posing in areas where waves of guests come through, so you might lose an opportunity to get a guest-free shot if you’re emptying pockets, setting bags down, hiding sunglasses, etc. Being camera-ready at all times takes a lot of the stress off, particularly for the photographer.
•This is a day to exercise patience. You’re shooting in a VERY public place that is known for being crowded. If you’re waiting for a crowd to finish walking by, just know that eventually, that quick lull will come and it is worth it for that “whole place to yourselves” look – AND removes the need to Photoshop!
•Don’t forget to feed your photographer, as well as yourselves. Take a break to eat. You’re doing a lot of shooting and a lot of walking. Take advantage of the Starbucks in either park. And stay hydrated!
•And lastly, go celebrate! You just did an entire day of shooting at Disneyland. Grab a frozen margarita and a Fast Pass for your favorite rides!
Update: See Michele and Kent’s small & intimate wedding blog post here!

press & features


SEND
.................................................................
.................................................................
.................................................................
.................................................................
.................................................................
FOR SERIOUS INQUIRIES ONLY. THIS FORM IS NOT TO BE USED TO SOLICIT SERVICES.
